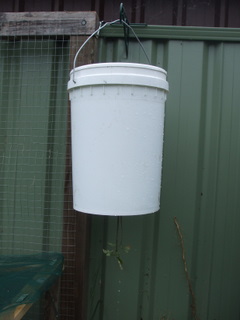
It’s a new thing, or at least it is to me.......grow your tomatoes (or actually several other crops like chillies and capsicums as well) out the bottom of a pot. You can even buy specific upside down (USD) pots designed so that you can grow plants out of the bottom of them, and I am as susceptible to such things as the next man so I bought a couple. The reason I want to grow upside down tomatoes, rather than for any novelty value or supposed improvement in yields is to increase the area left for other crops in my standard veggie beds and more tomatoes growing on fences means more room in beds – simple really.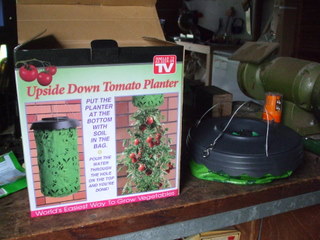
There is also the issue of sustainability, because that is what this website is all about, and while the specific purpose pots are comparatively cheap at $8-10 they are fairly thin walled and so don’t look like they will last long to me and like lots of stuff today they are imported from China and have lots of transport miles on them. There must be a better way, and indeed there is! Remember the 20 litre plastic buckets, the recycled cheese curd containers that I obtained from a local hardware for $3.50 each? They were the star of the 20 litre self watering container article......anyway you can make your own based on a recycled 20 litre bucket rather than outlay for a new specific use pot.
The Commercial USD Pot
The commercial one (As seen on TV! yes I need to get out more....) is comparatively simple to use and hanging it up makes it even easier to work with. We got hold of a couple of brackets that sit over our fence to hold the pots up and I hung the commercial one on it and grabbed a tomato seedling (Roma, if you must know). The kit had a lid to the pot, which needed to be removed and a sponge circle to hold the seedling in place. It is just a case of pushing the root ball through the hole in the bottom of the pot and then through the hole in the sponge disk to support it. If you take a bit more of the stem through the hole it is not a bad thing because extra roots will grow from the stem and help the tomato establish.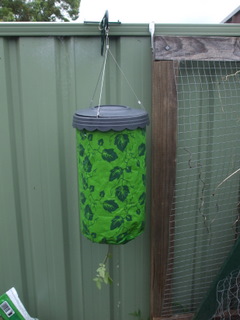
Once the tomato seedling is in place you need to hold the stem to support it and add your potting mix, I just used a mid priced commercial potting mix, using a container to add small amounts at a time rather than tipping in the entire bag, otherwise you can dislodge the root ball. Once the pot is filled to within 5cm of the top, water it in well; this will cause the potting mix to settle, so once again top up to within 5cm of the top replace the lid and you’re done!
The Home Made USD Pot
This is also reasonably easy, particularly of you have a 50mm hole saw because the main bit of engineering required is to cut a 50mm or so hole in the bottom of the 20 litre container. If you have a hole saw (and I do!) this is the way to go but if you don’t then a Stanley knife will also do the trick although there is some risk of being cut so wear sturdy leather gloves just in case. The other bit of modification required is at the handle end and is really only needed if you want to stop it slipping around on the support hook. All I did was remove the plastic hand hold from the handle using my band saw (or you could use the Stanley knife again). Then once the plastic was removed I put the wire over a mandrel, in this case the handle of one of my engineers vices and gave it a solid tap with a hammer so that it had a bend that would sit over the hook and keep it stable.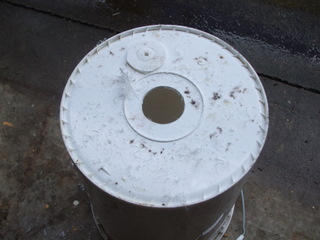
With the engineering work completed I cut out two disks of newspaper slightly smaller than the diameter of the bottom of the 20 litre container and then put a 5cm slit in the middle and placed it in the bottom of the container. I was then ready to install the tomato! That was a similar process to the commercial USD pot in that I threaded the root ball into the hole in the bottom of the pot and then through the slit in the newspaper. Once in place and while holding the root ball to stop it being dislodged I carefully filled the container with potting mix and watered it in and bingo, we’re done. 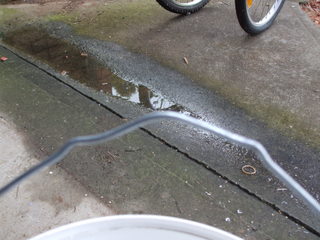
The one major difference between the commercial and home made USD pots is that you can easily grow something else in the top of your home made pot and while I haven’t done anything yet I have been considering some nice basil to go with the tomatoes. Tasty!