Around the side of the house we have a shed, I’m sure lots of people do too, and when I was building it a mate of mine who has his own roofing business put a gutter and shot downpipe on it so that the rain wouldn’t drip in the door and I could catch the rain coming off the roof. The gutter was attached to the thin overhang of the shed roof rather than a proper eave so we had to pop rivet some braces along it to keep it from sagging down and letting the rain flow over the top rathet than going where I wanted it.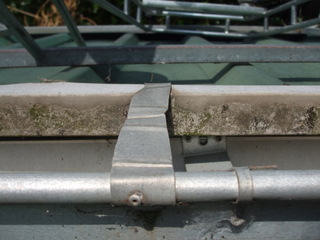
To catch the rain I installed a second hand black plastic 200 litre pickle drum just put up on a couple of bricks with the downspout pointed in its rough direction. There was no spout on the bottom for using the water, no screen on sop to stop mozzies and over the years it had developed a lean AWAY from the downspout. Hmmm, not good enough!
After receiving some advice from an aquaponics expert, the 500 litre water butts I had gotten hold of to hold the fish suddenly became free (yeah, I know, don’t laugh) so I decided to replace the black drum with a properly designed and installed water butt, not to mention with two and a half times the capacity, woo hoo!
After draining (onto the fruit trees of course) and removing the black drum I got hold of some bricks and set them in a square so they would support the bottom of the butt (is that a tautology?). One of the problems with the black drum was a relatively small footprint on the ground and that the sides of the drum tapered down towards the bottom, making it somewhat unstable whereas the water butt has a large round flat bottom making it very stable.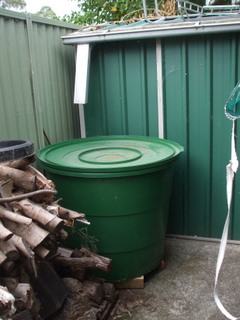
Once the base was ready the next thing was to fit the supplied tap, there was a positing for it moulded into the plastic on the side of the water butt but no hole had been drilled. By measuring up the thread on the sap I found I needed a 25mm hole and as luck would have it I had a 25mm speed bit so a couple of minutes after grabbing the cordless drill the hole was in place and all that was left to do was wind some Teflon tape (plumber-on-a-roll) around the thread end of the tap, insert it through the hole and screw on the securing nut and tighten.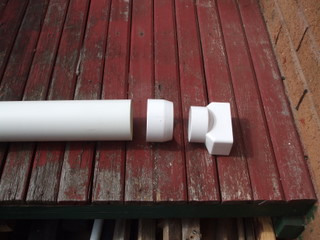
The downpipe is 150mm by 59mm rectangular aluminium whereas the area on the lid for the hole was round and the butt was somewhat shorter than the black drum so I needed to put an extension on the downpipe anyway. So after a quick trip to the hardware and finding that plastic converter from rectangular to square not only did not fit any of the round pipe I had, it only fitted pipe you had to buy in 3 metre lengths (why is that?) but I was able to find a converter from 80mm to 90mm diameter pipe which was available in a much cheaper 1 metre lengths.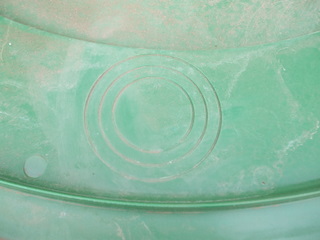
Back home and I used the jigsaw to cut out the largest size hole pressed into the lid (there were several concentric circles pressed into the lid to show where to cut the hole for the downpipe) and placed the lid back on the butt. I assembled the downpipe and converters and slid the downpipe into the hole in the lid and marked off with a pencil where the lid came up to on the downpipe, removed the circular down pipe and cut it to size with the mitre saw. To finish off I reassembled the whole downpipe and drilled and screwed it together, I prefer the screw method of assembly as opposed to gluing just in case disassembly is needed at some future time.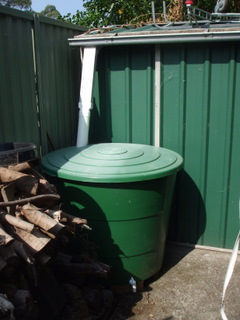
So all there is left to do now, is pray for rain!


