Since the industrial revolution when the science of chemistry started to come to the aid of agriculture, our understanding of the nutrient requirements of plants has increased in leaps and bounds. To understand the truth of this you only need to look at the wide range of chemical fertilisers available at your local hardware or plant nursery, but the result of that knowledge is that we have focused on the provision of chemical nutrients to the exclusion of all else. We have forgotten what our ancestors knew, that a healthy soil means healthy plants and healthy plants give good yields. We have neglected the biological side of the equation, providing our veggies with the chemical elements they require but not nurturing the soil and soil microbiology.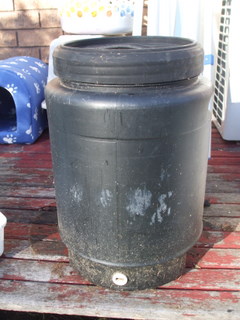
This is all starting to change however and there is a big buzz around biological fertiliser, quite often shortened to biofert. These biological fertilisers can be home made and they ensure that the soil gets a charge of beneficial bacteria and fungi so that the soil and our veggies stay healthy and productive. They can be made using an anaerobic method, which requires some time but little equipment, whereas using the aerobic method is much quicker and there is not much equipment required.
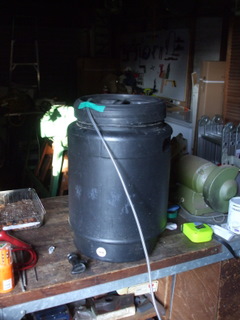
The more “professional” larger scale set ups I have seen are based on a 200 litre drum but the biofert needs to be used quickly and I found that a 200 litre drum was just too big for a backyard set up. Plus we are not over flush with space around here so I set it up in an old 25 litre fermenter that I bought third hand for a few dollars some years ago and I believe that it is much more suited to the urban/suburban farmer.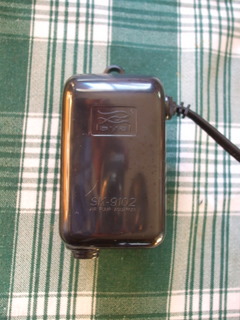
What you will need:
- 1 x 25litre fermenter (or even just a 20-25 litre bucket)
- 25 litres of non chlorinated water, I used tank water and that worked pretty well otherwise I suggest drawing the water then letting it sit for a couple of days so the chlorine can dissipate.
- 500g worm castings or well made compost
- 200g molasses
- 20g fish emulsion
- 1 x fish tank aerator complete with flexible tubing and air stone, you could try pinching the one out of your wife’s goldfish tank, but I wouldn’t recommend it. I picked up my set up for less than $20 so they are not that expensive.
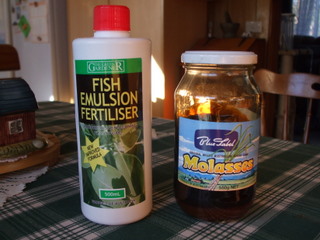
The theory is that you get some material rich on the right type of microbes (worm castings or compost, I used worm castings) and then dissolve them in water to allow the bugs to move into the water. The bugs will then start looking around for bug-food and you need to provide it by supplying them with a source of carbon (molasses) and nitrogen (fish emulsion) and oxygen as well, hence the aerator. You leave them until they have bred up enough and then add the bug-water direct to your plants. It’s as easy as that!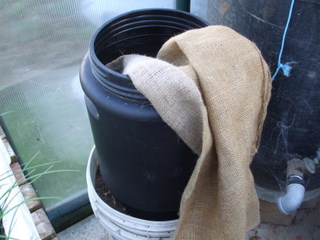
- I hunted around until I found an old hessian bag but any coarse cloth, including well worn pantyhose (come on guys, you can be honest with me, I’m sure you have an old pair in the back of your sock drawer somewhere) and fill the 500gms of worm castings into it.
- Fill your container with 25litres of pure non chlorinated water then use the bag full of worm castings like a tea bag and jiggle it around, then leave it to soak overnight. When you remove the “tea bag” next day the water should be somewhat darker but have a not unpleasant earthy smell.
- Ok so the bugs are in, now it’s chow time! Add the molasses slowly and with plenty of stirring otherwise it will head for the bottom of the container and form a pool that is difficult to mix back in. Once it is incorporated add the fish emulsion. I found that once the molasses went in the water had a mild molasses like smell (unsurprisingly) and having no real end-point to shoot for I was going to run things until that smell went.
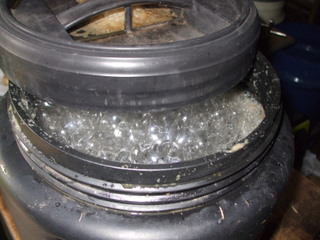
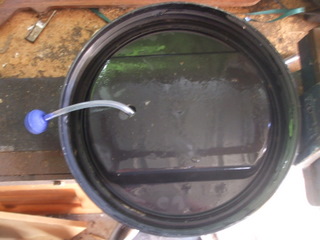
- Next connect up your aerator and air stone. My fermenter had a hole in the top so I fed the clear air tubing through that and then connected the air stone on the other side. That way I could still put the lid on and keep out any unwanted additives, like one of our cats. It is a good idea to mount your aerator above where the tubing enters the container so that if there is a failure of some description the liquid can’t siphon back into the aerator motor and make expensive noises or smells.
- I turned the aerator on and the air stone proved to be too light and just bubbled back up to the surface of the liquid along with the air so I pulled it apart and slid a small nut along the tubing down to the air stone and this provided enough weight to keep the air stone submerged.
- So I set the system to bubbling and left it overnight, it can take as little as 24 hours if the conditions are right and the temperature is 20°C or 25°C. It is winter here at the moment so the temperature in my garage can be 10°C or less so I figured it would take a few days for anything to happen. Certainly when I checked the next morning there appeared to be no change.
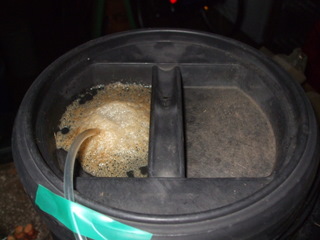
- The following morning, however, there was froth all over the place! OK, so there was a bit of froth coming out of the hole where the tubing passed through the lid, but it was enough to cause me to wonder what on earth was going on! A bit of research turned up that this WAS the end point and the biofert was ready to go.
To make sure the bugs stay happy and get where they need to be, apply them shortly after the end point is reached, apply them direct to the plants undiluted using a watering can rather than a spray and apply after the sun has gone down and is not shining directly where you are applying it. The bugs have never heard of sunscreen and the UV will kill them rather than improving their tan.