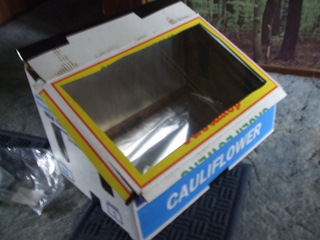
It can be very handy to have a place to raise seedlings or to coddle a frost tender plant through the colder parts of the year, and I’m sure everyone would love a 3 metre by 2 metre commercially made, glass clad greenhouse but what do you do if you don’t have the room or the money or both? The answer of course is in the title of this article; you go out and make yourself a mini greenhouse.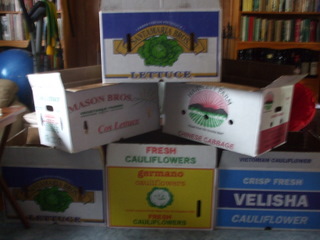
The greenhouse requires very few tools to make, is made almost entirely of recycled materials and costs next to nothing and while this sounds too good to be true, I assure you that it is genuine. Our choice of material of construction is the waxed veggie carton and it is a good one for a number of reasons –
- It is strong - the waxed veggie carton being stronger than the sum of the strengths of the paper and the wax.
- It is water resistant – the wax coating the cardboard not only increases its strength but also prevents water to getting to the cardboard and turning it to mush.
- It’s Free – The cartons are generally single use and then they are discarded by the fruit and veggies shops so if you approach them for a couple they will be very pleased to offload them to you.
- It’s recycled – or is the new buzz word “repurposed”? Our recycling technology cannot cope with waxed cartons so they are generally sent to land fill so you will be keeping a useful material out of the ground.
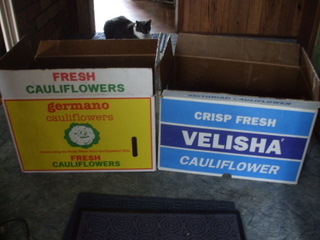
To make the greenhouse you will need a couple of waxed veggie cartons, preferably one bigger than the other, a recycled clear plastic bag (mine was packaging on a folder that I bought but any decent sized clear plastic bag will do), a Stanley knife or equivalent, some aluminium foil, some duct tape and some double sided tape. A pair of scissors to cut the tape instead of the knife, while not being critical, is a safer option and a rule or tape measure rounds out the equipment needed.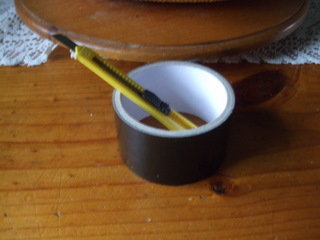
To make your own mini greenhouse the steps are as follows –
1. Grab the smaller of the two boxed and using the Stanley knife cut the front and side flaps from the top of the box.
2. To make maximum use of the sun you need to make the top into a sloping surface. There may be ventilation holes and/or hand holes in the side of the box so you may have to vary your angle to miss them. The angle I had to use meant that the front of the box was about 19cm lower than the back. The angle isn’t hugely important so long as it is the same on both sides.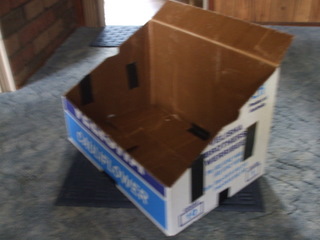
3. It is also unlikely that you will remove all the holes when you put in the front cut out to make the angle, so any remaining holes should be covered by putting duct tape over them both inside and outside the box. Ventilation is good but the whole idea is to keep the inside of the box warm and air leaks through hand holes etc will work against that.
4. If you want to increase the amount of light rattling around inside box you should line it with aluminium foil, secured by double sided tape, and this then completes the bottom.
5. To make the top, cut out one large side of the other box, along with its flap and place it on a flat surface, using the Stanley knife cut out a hole in the centre a couple of centimetres smaller all round than the clear plastic bag so the overlap can be used to secure the bag to the top.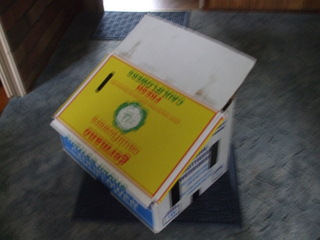
6. To fit the top to the main box part of the mini-greenhouse place the flap that you left on the top on the flap that you left on the rear of the bottom and then run tape around them both so that they form a hinge.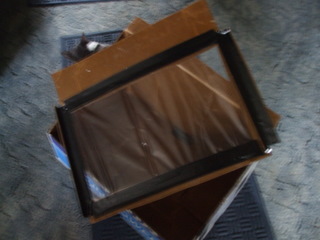
Once the top and bottom are joined via the hinge the mini greenhouse is complete and you can set it up in the sun with some seedling flats inside full of seeds ready to sprout. If the weather gets a bit warm and you are concerned for seedlings or other plants inside you can fit a couple of clothes pegs on the front of the box under the lid so that the lid is elevated, providing some ventilation.