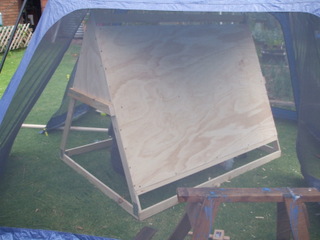
I hoped that the previous incarnation of the chook tractor would last us a while but after 5 years of sterling service in all weathers it was losing its war with wood rot and moving it from patch to patch was becoming more and more of a juggling act. I was at work and Linda was trying to harvest some eggs from the tractor when there was a catastrophic failure. Damn, so much for the weekend, I knew what I would be doing.
I try and make each iteration of our design better than the last by building on the mistakes of the previous one, so in other words I try not to make the same mistake twice......I make a whole stack of new ones each time!
The improvements to this one over the last one are –
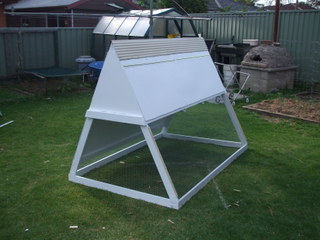
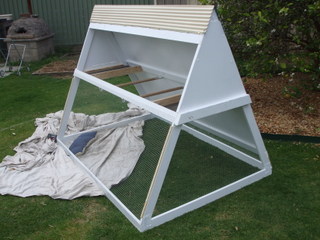
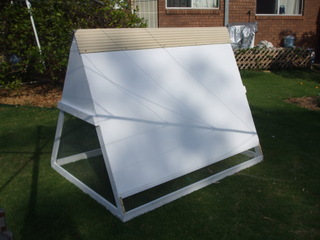
All over paint job – The original got a bit of varnish over the main sides, last one got several coats over all of the outside but after coming up short due to rot in several areas, this one got three coats all over, inside and out.
White, not green – The previous chook tractor was painted Heritage Green (looks something like British Racing Green for those who remember it) and it looked pretty nice in the back yard. Unfortunately, being a dark green it did little for the chooks comfort on the hot days that can hit us anywhere from October to March. You can feel the difference on the inside of the covered area just by putting your hand on the timber surface, warm instead of ouch!
Extended side - The last unit, to save weight, hat the top roosting area covered by plywood but the understory was completely surrounded by chook wire. Again, on those really hot days we had to provide extra shade so this one has the side that does not open extend down to within 100mm of the bottom of the tractor. This still allows some ventilation but with that side facing the west and being painted white means a more comfortable summer for the chooks.
Aviary wire instead of chook wire – both previous versions of the chook tractor had (predicably enough) standard chook wire mesh (hexagonal 50mm holes) but no lesser authority than Dr Harry himself said that the chooks can get their heads through this and injure themselves. This version has aviary mesh with 13mm x 13mm square holes which is stronger and the chooks can’t poke their heads through.
Redesigned access hatch – the original was made out of just 6mm 3 ply and had a tendency to curl up at the edges in hot weather, with the possibility of a chook escape. The new one is still 3 ply but only 3mm (it was all I had to hand) so I have build a frame of 70mm x 19mm pine that will keep it rigid, around the inside. So the frame keeping it straight and the white paint coating it will prevent any deformation. Also I have beefed up the piano hinge that acts as a pivot for the access hatch and for further strength the screws securing the piano hinge go into the full thickness of the frame rather than just the 6mm of the hatch itself, as it did on the previous model.
Thicker roosts – up from 15mm to 20mm, the thicker roosts are more comfortable on the chooks feet (and it was what I had).
Shorter body – The previous incarnation was 2000mm long exactly because this simplified construction, a lot of the raw materials coming in 2 metre lengths, but when I came to use it I found it was in fact just a shade too long, so the new one is 1900mm and fits the beds a treat.
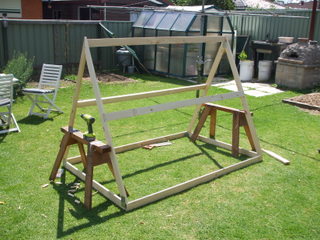
Apart from the above differences, the chook tractor is essentially similar in design to the previous one, using the same materials and construction techniques. The construction sequence, for those who missed it, is
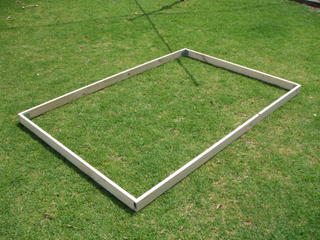
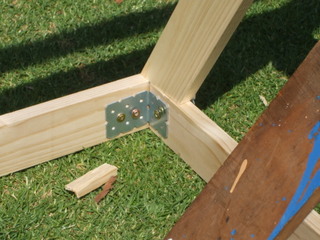
- Lay out the bottom rectangular footprint and secure with angle brackets and screws
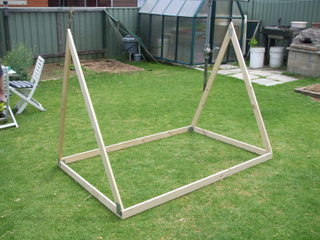
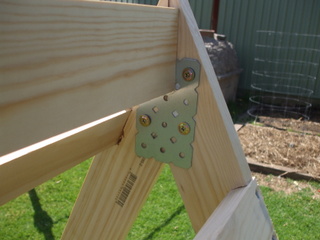
- Attach the A-frame uprights to the bottom footprint with flat steel brackets and screws.
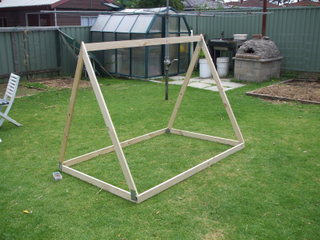
- Fit the ridge member and screw in the ends to keep the A frames upright.
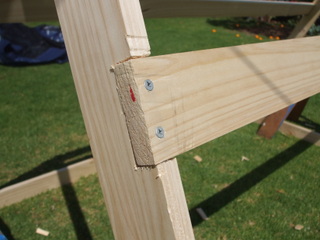
- Cut the timber to go along the sides to length and then cut out the A-frame sides to fit and screw them in
- Cut the end pieces to be used as handles to size and screw them to the A-frame uprights
- Cut out the back and side covers from plywood and screw them to the frame
- Cut and install the perches
- Paint the living daylights out of everything with 2-3 coats of white paint
- Make the hatch and paint white
- Install the laying areas
- Put the hatch on with piano hinges
- Put the wire on by screwing timber to the uprights and using staples on the edges.
- All finished!
For details on how I crafted the previous one and the original one, check the links.
So far it is working well, containing the chook effectively and they are much more comfortable, or so they tell me. All up this one took me about two full days (with help from son-in-law and wife) and cost in the region of $200 but it would have been less if I was able to use more recycled content.


