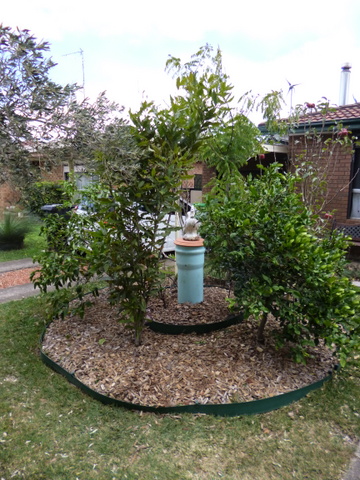
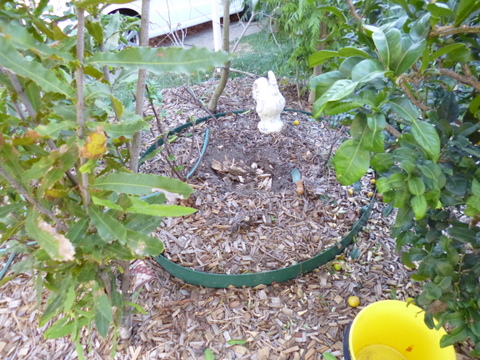
When I constructed the fruit tree circle I just put a chook statue in the centre, but after doing some thinking and reading I decided that the chook could sit on top of a worm tower. A worm tower would keep the area moist and provide nutrients for the inner circle of red currants and the fruit tree circle proper. But what is a worm tower? I’m glad you asked!
A worm tower is merely some wide tube or pipe, with holes drilled in the end, planted end-on into the soil and then stuffed full of compost worms. You regularly put some organic material into the tower in the same way you would any worm farm, but in this case the garden plants harvest the nutrients directly through the soil without any need for you to collect and distribute the worm castings. Simple!
Another advantage for those of us who are ............let’s say a bit more of a mature persuasion, the tower can be made so that it sits up half a metre to a metre above the ground (as this one is) so that you don’t have to bend over to empty your veggie scraps into it. Convenient!
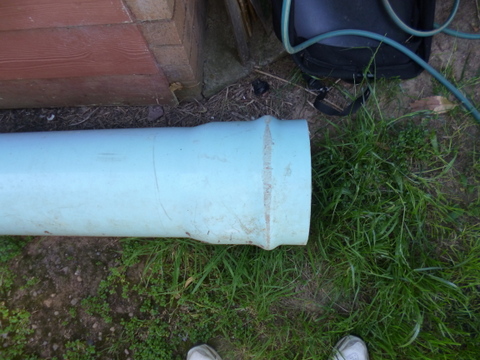
I was lucky in that an old plumber mate of mine dropped off some 30cm diameter plumbing pipe that was regarded as excess on one of the jobs he was working on and was to be thrown out, so thoughtful chap that he is, he saved it and brought it to me.
How I Made Our Tower
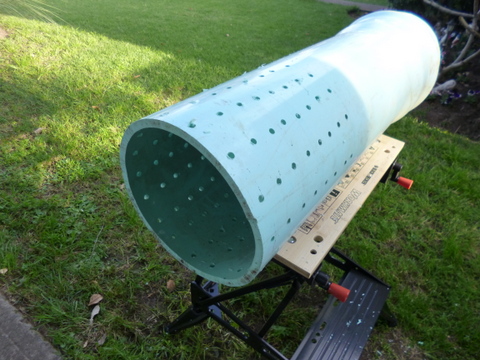
While is suspect the exact amount is not critical, the bit that goes in the ground should go down 30cm to 50cm and be filled with holes. This is so that the garden worms can get in to share the bounty and the compost worms can get out and go on holiday if they want to (although they usually don’t seem to want to).
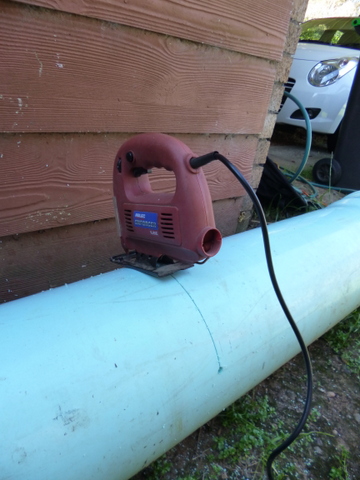
The pipe I had was too long so I cut off a 1 metre section so that 300mm would be in the ground and 700mm would be above. The section that would be below ground needed to have the access holes drilled in it so using my (solar charged) battery drill I drilled a stack 0f 3/8” (about 10mm) holes all around the bottom. I drilled the holes on roughly 50mm centres but in reality, apart from the line around the pipe marking off the 30mm level, none of the other holes were measured I just drilled them where they looked reasonable.
I had bought a terracotta plant pot saucer to go over the top of the tower to keep rain and light out. Worms only work in the dark so a cover is important, as is making sure all the drilled holes are under ground, keeping the inside of the tower light free. With the addition of the saucer, the tower construction part was completed, now for the installation.
How I Installed It
OK, so here is a hint. When you have a mind to make yourself a worm tower, make sure the place you want to put it can be easily got at and easily dug. While my idea was good in theory, it would have been much easier to install the tower BEFORE the fruit tree circle want in, not a couple of years later! Anyway, the centre of the circle was somewhat difficult to access but after some expert pruning I had a way in to be able to dig the hole. Another issue that I had forgotten about was that the centre of the circle was built up to cover the remains of the carob tree stump, which was there previously. After being under ground for a few years you would think the thing had rotten away...... but apparently not.
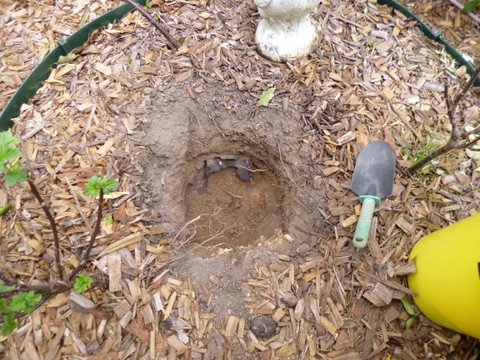
If you have hole digger a bit bigger than the tower it works wonders but I didn’t so it was really a case of dodging between the trees and starting off the hole by hand with a trowel. After having the living daylights scratched out of me by the kaffir lime on one side and the macadamia on the other, both got trimmed back even further to make a safe accessway. Fortunately the carob stump was off to the side and after several close encounters with the pick it didn’t seem tom want to hang around anymore. Once I started to get down a bit I used a pick to break up the bottom of the hole, and then scraped it out by hand with the trowel again. It was reasonably hard work but better access would have made the job a lot easier.
Once I got about two thirds the way down (about 200mm) I filled the hole up with water and then let it drain out. This did two things; it made the soil in the hole softer and easier to dig but also showed me how quickly the hole would drain in heavy rain. In the event it drained in a few minutes and this was a good thing because while the worms like a moist environment if it floods they will not be happy and quite likely decamp for pastures greener.
It was then just a case of completing the excavation and then trying the tower in to ensure that all of the holes I had drilled would be covered when the dirt went back in. To make sure it looked OK I used a spirit level to make sure it was vertical then scooped some of the fill dirt back in around the area between the tower and the edge of the hole. After packing it in a bit around the tower and watering it in, it gave the tower a solid foundation.
Installing the Worms
With the tower now in place and steady, it was time for the worms to be added to their new hi-rise home. Once the tower was stabilised I tossed in –
- a (9 litre) bucket’s worth of well dug over straw (with just a hint of chook poo) to help with drainage;
- on top of that a bucket of well wetted down paper went in to provide moisture and something for the worms to chow down on.
- Then a bucket of cocopeat for the worms to live in,
- Then the worms themselves,
- A bit more cocopeat to cover, and then once they had settled in a bit;
- Organic waste (veggie peelings and stuff) which will start them off on their main food.
Now all is well and it is just a case of checking them every few days and adding more organic matter once they have chewed through the last load. Simple and convenient!


