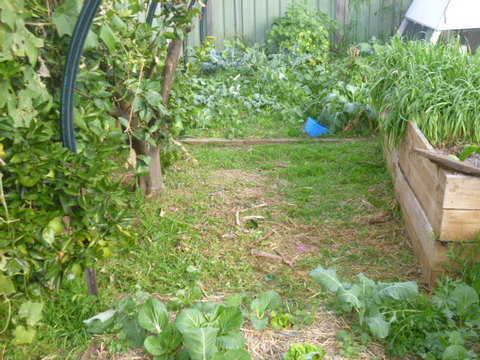
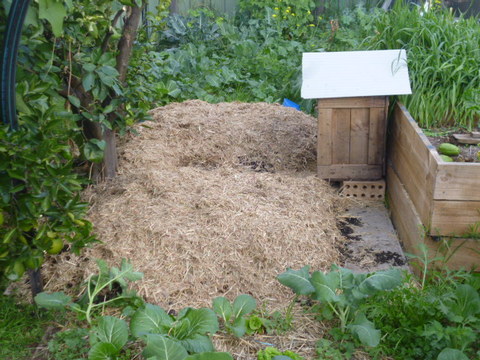
If you have an area, large or small, which you want to develop for growing fruit or veggies, sheet mulching is a good way to start out. The sheet mulch can go straight over grass, weeds or bare earth and will ensure a bountiful harvest once it starts to break down. You can also sheet mulch almost any sized area if you have the materials and a few willing hands to help.
The idea is to create a barrier between what is currently growing in the area and what you will be wanting to grow and then put down several layers which will decompose down to form a fertile growing medium and then a protective mulch layer on the top to keep the moisture in.
The Barrier
The barrier is designed so that it will eventually break down, but only after the plants underneath have died from lack of light and frustration in general. The two materials of choice are cardboard or newspaper. If using cardboard, the large sheets used to make packaging for appliances and other large boxes work very well, but having said that, used fruit or veggie cartons are also OK. Make sure that you don’t use waxed veggie cartons, however because they will not break down due to the wax coating. One layer of cardboard is usually enough.
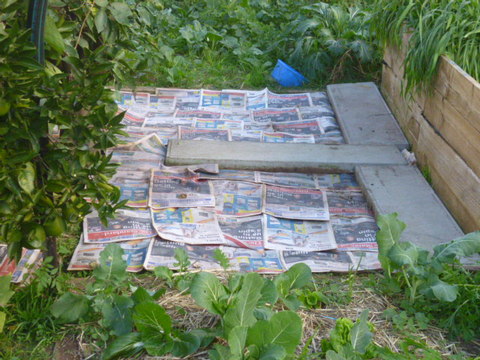
If newspaper is to be used this can usually be gotten free or at very small cost in the form of unsold papers form your friendly local newsagent, or get friends and family to save them up for you rather than putting them in the recycling bin. If you are using newspaper a good thickness is required, so open the paper out flat and use the whole thickness of the paper, overlapping them by 100mm or so to reduce the likelihood of those pesky weeds threading their way through.
It is a good idea to soak the papers for a while before laying them down; it has several advantages. Wet newspapers will not fly all around you and your neighbour’s yard if the wind picks up and they will be easier to breakdown and feed the soil bugs. An alternative method is to lay the papers down and give them a good soaking with the hose, but soaking the papers in a wheelbarrow full of water for a few hours before laying them is the better way to go.
The Main Course
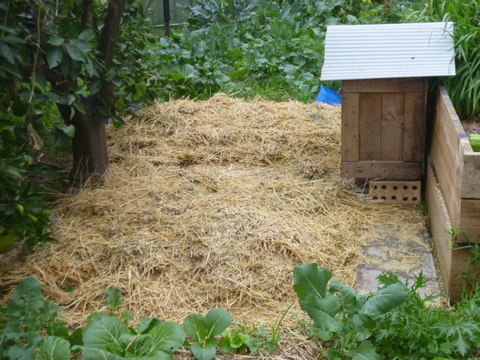
Anything organic can go in the middle bit but you need a layer somewhere around 200mm – 250mm thick. Unless you live on a farm and a while stack of organic matter floating around it is highly likely you will need to buy the material(s) for this layer. I use Lucerne hay because it has a higher nitrogen content than straw (but also is more expensive). Both hay and straw will expand out once taken out of their bale and if you are using straw, adding some high nitrogen manure such as chook poo while you are laying the straw down. This will help the mainly carbonaceous straw to break down into a fertile growing medium by providing some nitrogen for the bugs to eat as well.
In either case (straw or hay) you will need to wet it as you spread it out on your barrier layer, otherwise it will take an age to break down. You want it to be as wet as a sponge that has been just rung out, that is to say moist but not dripping. Last time I put down some sheet mulch I did not wet the Lucerne down, I ran out of time but it rained heavily that night, which worked pretty well.
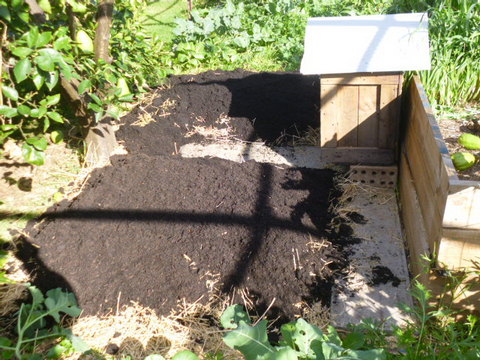
The next layer should be 25mm – 50mm of compost. This provides more nutrients and just as importantly lots of beneficial bacteria and other microbes to help the bulky layer below it decompose into a fertile growing medium. It also provides a layer to plant into if you want to get things growing right away. The best compost is home-made compost but this process can require quite a bit of compost so you may need to make a special load (difficult to do if you on a small block) or buy some in.
The Topping
If you are using hay, straw or any of the other bulk organic materials in your main course there is a possibility that they may include some seeds, which of course will become weeds. Wheat straw, cheap as it is, will definitely have at least wheat seeds within it from ears of wheat which the harvester has missed. To prevent these from germinating a 25mm – 50mm covering of seed-free mulch is needed as a topping.
I used sugar cane mulch because it is weed free and relatively cheap for what you get (it’s like the 4th dimension – the stuff just keeps expanding!). You could also use wood shavings, rice hulls or dry leaves if you can get enough.
Planting Out
If you can leave your new creation for a week or three for breakdown to commence that is a good thing, but if (like me) you are too impatient it will still work out OK. Seeds can get lost in the layers so starting out with seedlings is best. Plant them into the compost layer through the weed free topping. For larger plants make pocket into the bulk layer and line it with soil or compost, then plant into that.
An application of sheet mulch may take 6 months to rot down and really get things going and should provide several years of fertility, but you can top it up with more compost etc. when needed to keep it percolating along.


