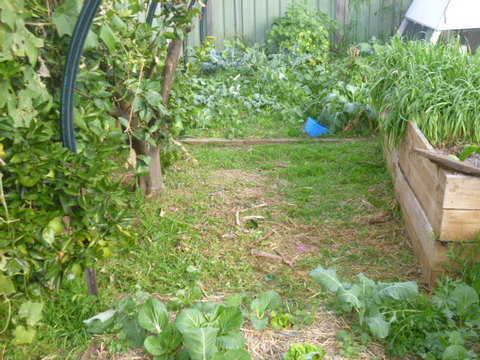
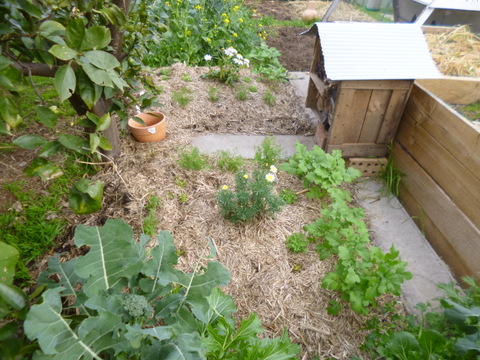
The first thing I needed to do to get our insectary area happening was work out where it was going to go. I had originally put the bug hotel behind our composter to keep it sheltered but there was no room there for anything else and it really was a bit far away from the main growing area. After a quick look around it seemed fairly obvious that the place to put both the insectary bed and the bug hotel was on the eastern side of the wicking beds and west of the choko tree. That is to say, right in the middle of the largest veggie growing area. With this major decision sorted I could start!
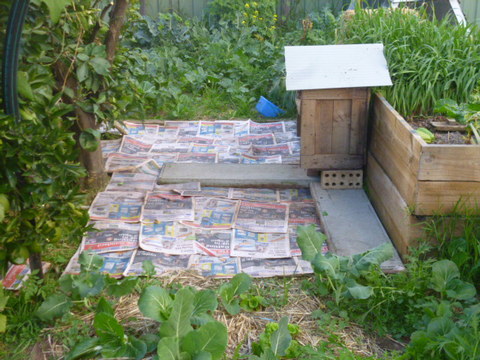
I wanted to maintain access to all sides of the wicking beds so I needed to keep a small area clear for walking on the eastern side of the wicking beds. I had some steps I had picked up while working in the precast concrete industry out the front which are about 300mm x 1200mm. I decided to move them into place first, then place the bug hotel on top as a solid footing.
My original design was to have a rectangular bed with the long axis running north south and rows of the insectary plants and some water over to one side. I had three of the precast concrete steps but only two were needed to cover the area alongside the wicking beds so the obvious solution for the third was to place it at 90⁰ to the other two, dividing up the single rectangular bed into two smaller square(ish) ones.
So much for the original design, but the new one gave better access into the beds for harvest and replacement of plants as well as providing a “landing strip” in front of the bug hotel so the insectary plants couldn’t grow up and obstruct access. Although it did require somewhat of a rethink of where the plants were going to go. The new design is also available here.
With the concrete strips down and the bug hotel in position the bones of the new design were now in place. Rather than long rows of flowers then new set up lent itself to a central feature, in this case the daisies, surrounded by clumps of the other flowers, so this is what I designed.
I needed to get hold of the seeds for my insectary plants (see previous article). Most were available but I found out that the marguerite daisy was not available from seed and I would have to get hold of it as a mature plant. I got hold of a good sized pot of marguerite daisy and another one of Shasta daisy, each would be a centrepiece for one of the beds.
One thing I have learned, it is best to plan your insectary beds for not for the next season, but rather the one after. I was planning in autumn for winter, but to give the plants a change to grow to flowering stage and start to do their thing, I should really have been planning for spring. It will still be OK but I just thought I’d mention it!
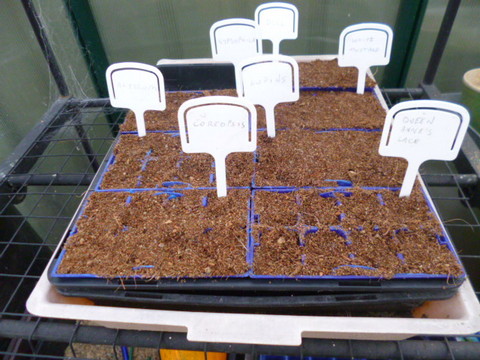
With the seeds obtained, planted into punnets and in the greenhouse it was time to get the beds ready.
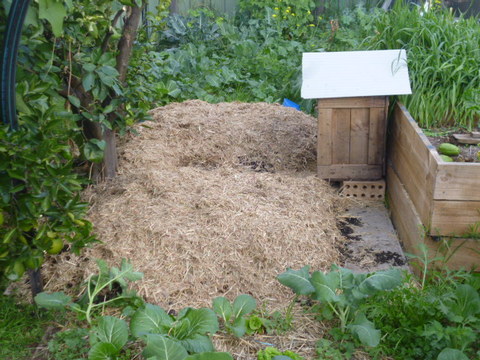
The area was just grass and weeds so to render it ready for making into an insectary bed I sheet mulched the area. This process involves laying down a barrier first to prevent weeds poking through (usually cardboard or newspaper) and then placing a series of layers of organic materials down on top which rot down to a rich organic growing medium. (For more detail click here).
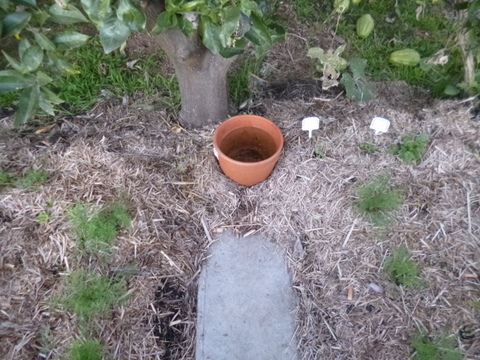
Once the sheet mulch was down and the final layer of mulch applied, I was able to put the daisies in the centre of each bed and then arrange the other seedlings in clumps around them. I wanted to include a source of water as well so I got hold of an old terracotta pot which I had plugged up the drain hole of for use in another project. I sited it at the eastern end of the “landing strip” near the tree so it would be mostly in the shade and provide a water source for the beneficial insects.


