The majority of our veggie patches are 1.2 metres wide by 2 metres long. They are that size because it is the footprint of our chook tractor, which we use to clear, cultivate and fertilise each patch in turn. There are, however 3 veggie patches which are 3 metres long. They are that long because they were originally constructed before the chook tractor was put in place and that size fit the area where they are located. The chook tractor still stays on the 3 metre patch for two weeks, but spends the first week on one end, and then the second week on the other, so the central metre gets the full two weeks and each end gets a week each.
When I was constructing all of the original beds to accept the chook tractor, they needed to have a surround of some description to prevent the chooks from tunnelling out and laying waste to the rest of the garden. So because I had access to some lengths of 90mm square Oregon timber which had been used once, and it was free, I used that. Almost 10 years down the track and the timber is looking pretty much worse for wear, and it is only a matter of time before there is an outbreak of chooks, so I need something to replace it with.
Also, just recently my lovely partner in the sustainable life and I were discussing how we might increase out area under cultivation, and hence the amount of food we produce, without causing difficulties with other backyard activities. Her suggestion was that the four beds along our western fence (currently 2 metres long) could be extended to 3 metres long comparatively easily. I seemed to me to be worth serious consideration. It would also be an ideal time to swap out the rotting timber with something else.
A new project was born!
In terms of the new surround, my initial idea was brick. It is a permanent solution and bricks are readily and cheaply available second hand. They do, however, have some downsides. They would need to be laid properly so that the chook tractor could be slid over the top of them; to get them deep enough two or three courses would need to be laid, which would be somewhat time consuming and finally they are usually dark in colour and can cause the edges of the bed to heat up excessively in summer. So, what to do?
While poking around various hardware shops I came across Besser blocks, not the full size 190mm thick ones, but the half thickness 90mm ones. They had a number of things going for them –
- They are 190mm deep, deeper than the original timbers so one course would be all that was required,
- They have two central cavities which are 150mm long by almost 40mm wide and extend all the way through the block. These cavities can be filled with growing medium and planted out to beneficial species such as insectary, aromatic or medicinal plants.
- They are light in colour so do not overheat in summer.
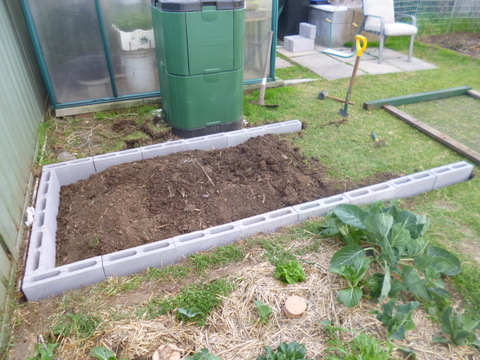
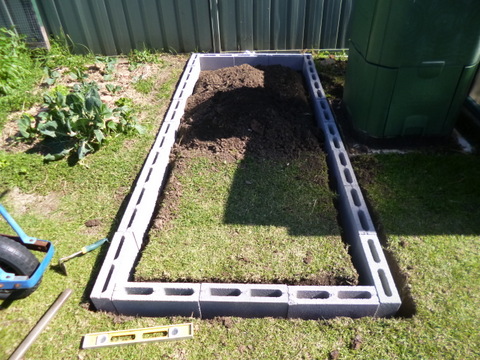
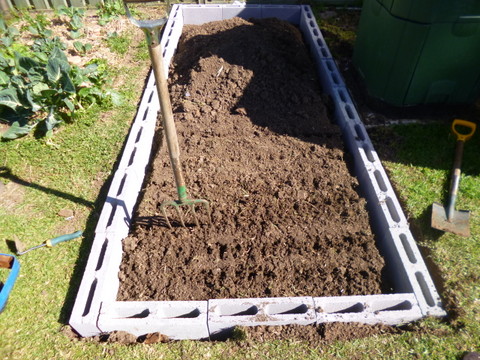
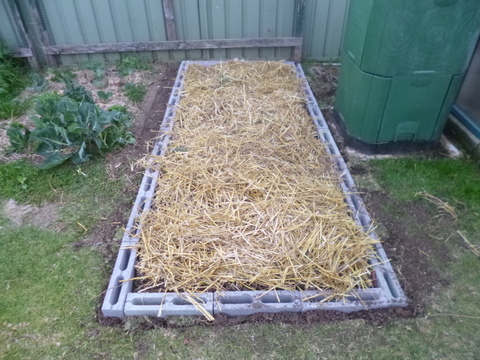
So I set to work on a design and discovered that a pretty fair approximation of the veggie patch size I was after could be gotten using 22 blocks; eight on each side and three on each end.
Extending the Patch
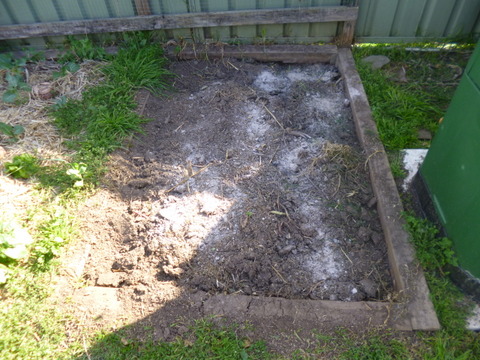
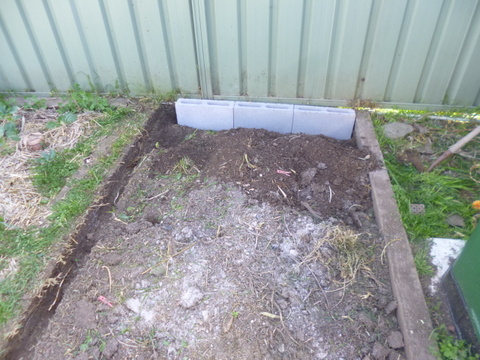
After the chooks finished cleaning out the first patch to be extended, I dug up and removed the wood surround. The timber was in pretty poor nick but I suppose not too bad for having been half buried in the ground for almost 10 years! With the timber out of the way I started on one of the sides and using a small hand hoe and a mattock. I removed the soil down to the required level, heaping the excess soil into the area occupied by the veggie patch.
It took a bit of effort to dig down to the required level and keep the bottom of the cut flat and level, but I was able to do it one block length at a time, using a spirit level to ensure I got the levels right, and continuing to sight along the line periodically to ensure the line of blocks was straight. Once I started moving into territory that used to be lawn, not veggie patch, I used a spade to make cuts either side of there the blocks would be, because the soil was more compacted in the lawn area, due to foot traffic. So I dug out what soil and grass I could with the spade and then finished off the trench with the mattock and hand hoe.
Once the trench was completed all around and the blocks in place, I used the mattock to remove the grass from the new veggie patch area by slicing along under the grass, then picking the grass off and discarding it. With the bare soil now exposed I used a garden fork pushed down almost the full length of the tines into the soil and rocked back and forth to loosen the soil without turning it over. This method loosens the soil without giving the soil micro-life a hard time.
The final work involved using the mound of soil on the original patch, now inside the blocks, which had been dug or scraped away to make the trench. Using the back of a steel rake I smoothed it out so that it covered the entire patch in comparatively loose, friable soil. The whole area was then mulched with straw which had been dug over by the chooks and then the area was watered.
Now our greatly enlarged patch was ready for planting!


