Metal casting has been an interest of mine for years although I haven’t done much other than casting a few fishing sinkers out of battery lead when I was a kid. Just recently however, I was given the opportunity to get together with a couple of mates and play with molten aluminium so there was no way I could knock an opportunity like that back!
The guy who was organising things is a teacher for a local high school and had the gear, space and aluminium cans at his school so we got together there. We were on the grass outside (so there was plenty of ventilation) but in the shade of one of the buildings so it was not too hot.
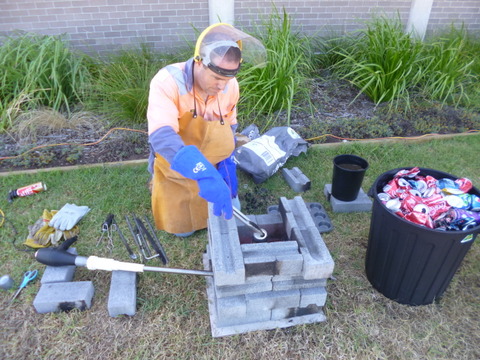
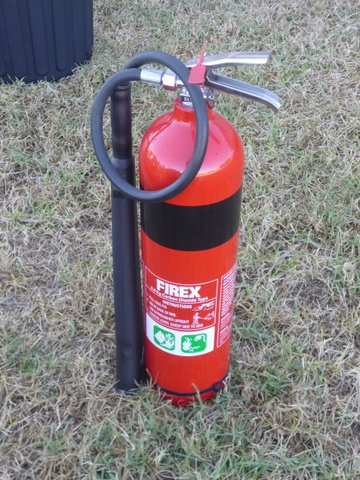
Before embarking on anything that gets this hot, make sure you have the right gear – leather gauntlets, leather apron and face shield as a minimum. A fire extinguisher is also a good idea, preferably a dry powder or CO2 but NOT a water based fire extinguisher. Dumping water on a molten metal can cause the water to boil so fast it effectively causes an explosion. That is to say – Bad Idea!
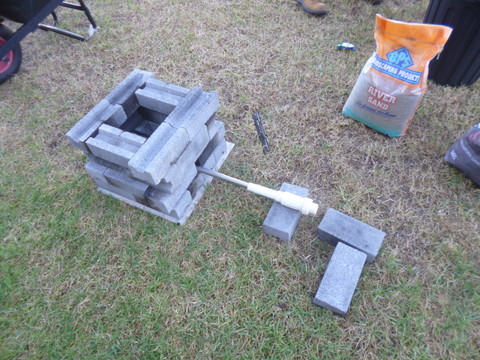
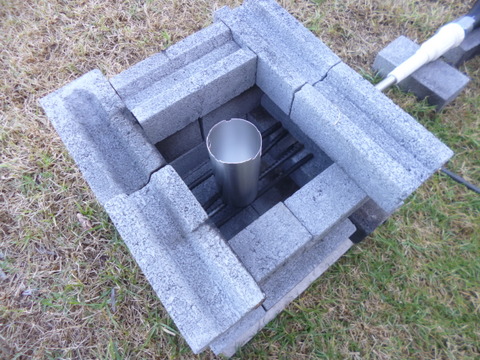
The first thing to do after the safety stuff was sorted was to set up the apparatus for melting down the aluminium. This was constructed by putting down a large ceramic tile directly onto the grass as a base, followed by a layer of bricks, then we built up a hollow square structure to contain the fire and support the crucible. Our fuel of choice was charcoal so there was also a hole in the side of the structure at the bottom to allow the entry of forced air, which we would need to get the temperature up to the melting point of aluminium (660⁰C).
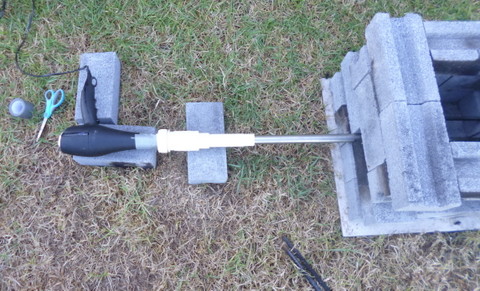
The forced air was provided by my mates, wife’s hair dryer (shh, don’t say anything it’s a secret!) which was connected to some PVC fittings and a 25mm diameter stainless steel tube recovered from the side of the road. The idea is that the air is forced by the fan of the hair dryer into the burning charcoal blast furnace style, which can achieve temperatures in excess of 2500⁰C thus melting all sorts of things, including aluminium.
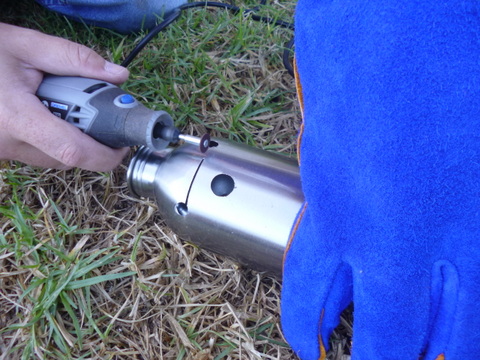
The crucible (which holds the aluminium as it is melted) was made out of the bottom of a recycled thin walled stainless steel drink bottle with the top cut off and some holes drilled in the top to allow reinforcing bar to be inserted so it could be lifted around. Stainless steel melts at over 1300⁰C so as long as we could keep the temperature above 660⁰C but below 1300⁰C all would be well.
Several reinforcing bars were put into the bricks so the crucible would have somewhere stable to sit with the burning charcoal piled below and around it.
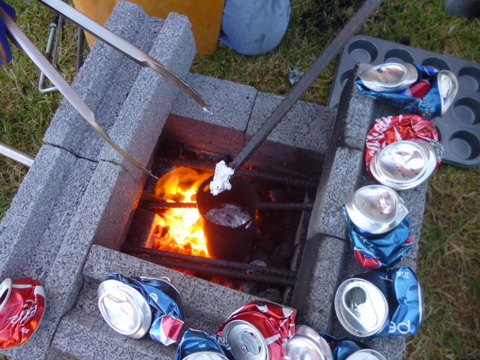
The aluminium source for melting we used was aluminium drink cans, which my mate had a plentiful supply of through the school (used by the teachers, not the students).
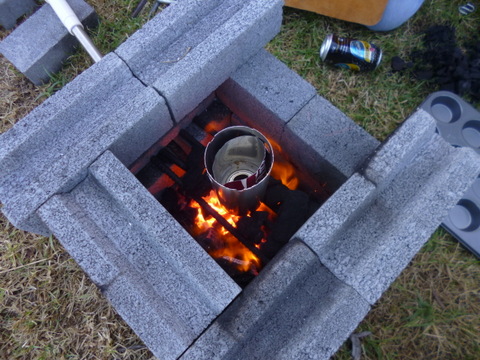
To start things off we put in a couple of fire lighters and then piled in the charcoal. This was then lit and once it got going the hair dryer was turned on to provide air flow to get things really cooking. Then it was just a case of sitting the crucible on the reo bars and filling it full of cans and sitting back to wait for the cans to melt.
We found that by having the crucible sitting on the reo bars we could not quite get enough temperature to melt the cans, but sitting it down in amongst the burning charcoal did the trick, even if it was a bit more difficult to get a stable base. The cans contained a bit of left over drink as well as the paint on the side of the can, this resulted in some pretty noxious smoke. I was glad we were doing this outside with a good breeze to carry away the smoke, but even so you sometimes had to concentrate on not breathing if the fumes were carried your way.
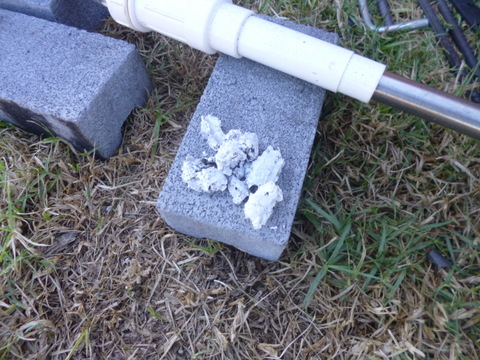
Another issue we had was the dross and slag which came to the top of the melting aluminium, I suspect that as well as aluminium oxide there was also some of the components of the paint on the side of the can as well. The dross had to be regularly removed by being scraped off the top with some reo bar, it was still plenty hot so to avoid burns the dross was put into a container of water maintained for the purpose.
I was a bit concerned about the thickness of the crucible and whether it would hold up under the high heat. It actually did much better than I thought it might, but towards the end of the melt it did spring a small leak and we lost some molten aluminium into the fire. We went through a considerable number of cans 35 – 40 in the end, and I think we lost quite a bit of metal through oxidation, but you really don’t appreciate how little aluminium is in a drink can until you melt them down.
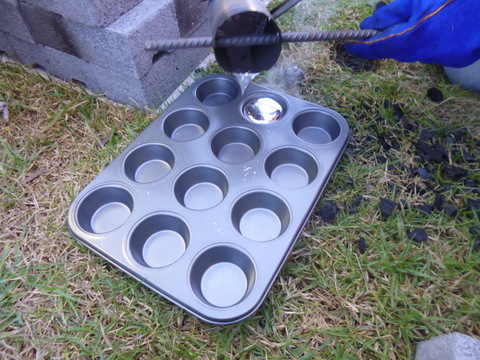
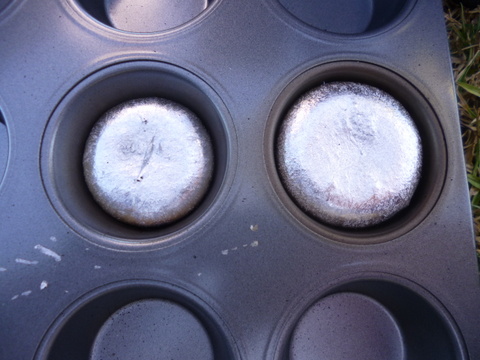
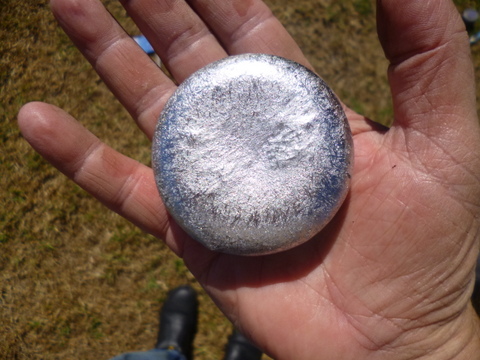
We were getting close to the end of the charcoal supply so we decided to pour off what metal we had into a heavy duty muffin pan my mate had brought along for the purpose. We got almost two “muffins” of pure aluminium for our efforts, not a lot for a mornings’ work but the ingots would not need further purification and will just be re-melted and cast when we get to that point. (see part 2!)


