members of our permaculture group have name tags, it makes communication easier if you can see the name of the person you are talking to and our members seem to like them. There are three types –
- Clear plastic pin/clip on with the name printed on white card for normal members,
- Clear plastic pin/clip on with the name hand written on yellow paper for visitors, this way we can ask about what they are interested in and make sure they get to the right people,
- Clear plastic pin/clip on badges with the name printed on white card and a lanyard with a white card for committee position holders so that members know who to come to with questions about the organisation and also technical permaculture matters.
We did try colours post-it notes for visitors but they just did not stick on well enough to remain on for the entire meeting so we dropped that idea.
We have upwards of sixty members (from a membership of 150) who attend our meetings, and a goodly proportion turn up between 6:55 pm and 7:05pm for a 7:00pm start. This means a traffic jam at the front desk while they sign in and collect their name tag so it has taken us a while to work out how to distribute the name tags with a minimum of fuss.

The first time we tried to rationalise the system, the badges were put into plastic sealable bags alphabetically. Some bags might only have one letter if there were lots of badges for that letter or some bags may contain badges for a number of letters (eg J, K, & L). This worked for a number of years but as the membership grew we decided that a new method was needed to reduce the mass pile-up at the front desk.
The next method we tried was to get a piece of thin MDF (medium density fibreboard) with some self-adhesive Velcro dots placed onto the board in rows, and the matching dot placed onto the back of each badge. That way people could easily see and grab their own badge, removing it from the board then replacing it so it was held by the Velcro dot again. This appeared to work well initially but the glue holding the Velcro dots to the board or the badge tended to give way, leaving both dots together – not what we were after!
It was time to find another way!
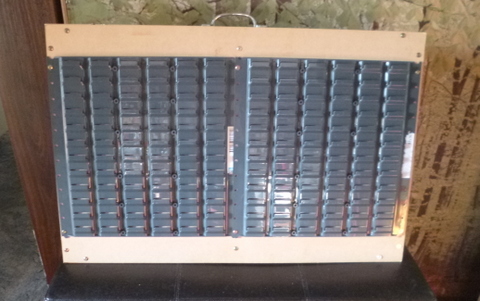
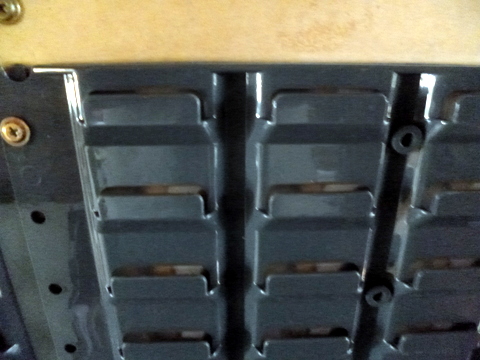
Linda had noticed at the local hardware that they had backing plates for hanging storage containers on in the garage. The backing plates were made of plastic, quite light and had a series of hooks which we could use to clip the badges to in neat lines. Each backing plate would accommodate up to 48 badges so two backing plates would do the trick.
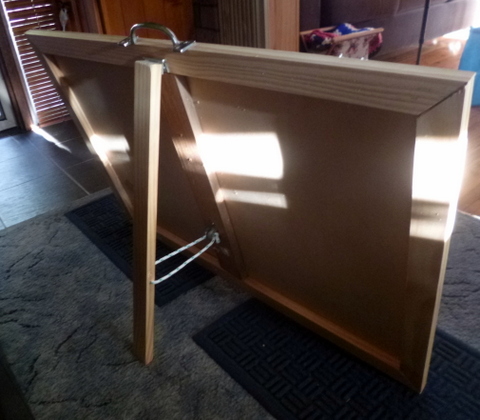
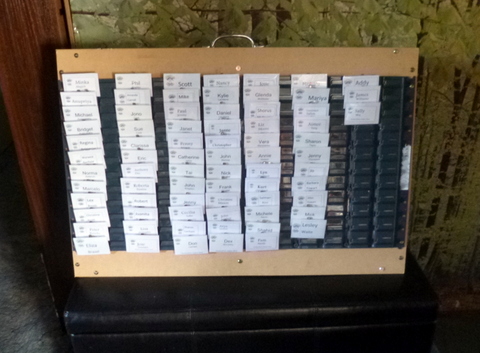
To make it so they could stand upright as well as fixing the two plates together, I framed a piece of 600mm x 900m x 3mm MDF with 19mm x 41mm pine, screwing them together for strength and rigidity. To allow the whole thing to stand upright I added a folding leg onto the back so it could stand at an angle and then added a handle at the top to facilitate transportation. The name tags now stay on the board, people taking theirs as they file in and then replacing them on the board on the way out (mostly).
They do not always go back in the right place so Linda has a bit of work to re-organise them again after each meeting, but other than that the name tag bottle neck has been considerably improved.


