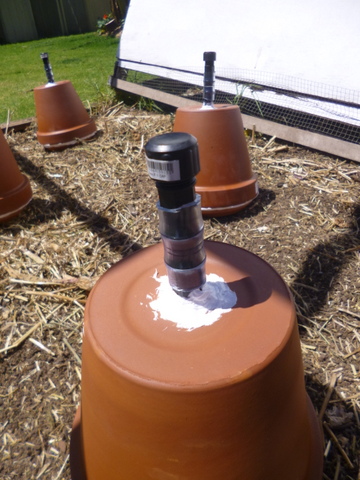
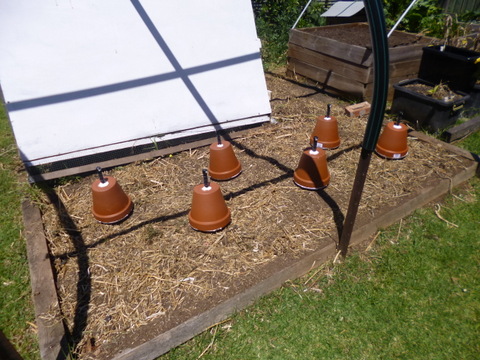
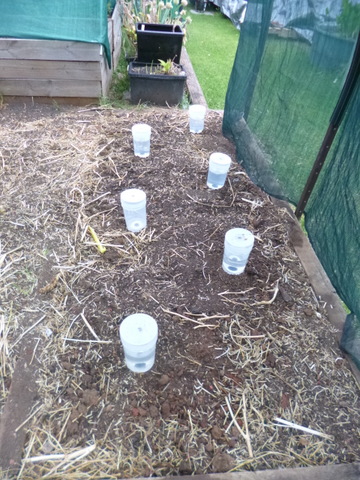
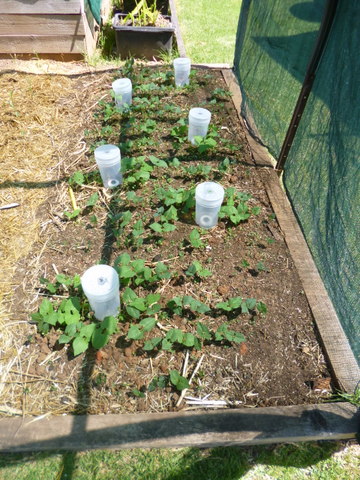
Buried capsule irrigation uses the same sort of process as ollas, that is to say they are based on a water holding container made from unglazed terracotta, which allows the water to diffuse slowly through the side of the container into the soil. The surrounding plants can then send their roots towards the water source which is located (ideally) in the plants’ root zone. The difference with buried capsules is the terracotta container is completely buried and there is a reservoir on the ground surface directly above the capsule which can be observed regularly so it is obvious when the buried capsule needs to be refilled.
While this method is probably the most technical and time consuming of the low tech, low cost irrigation methods to construct, it is still easy to put together with an afternoon’s work.
Components
Terracotta Bits
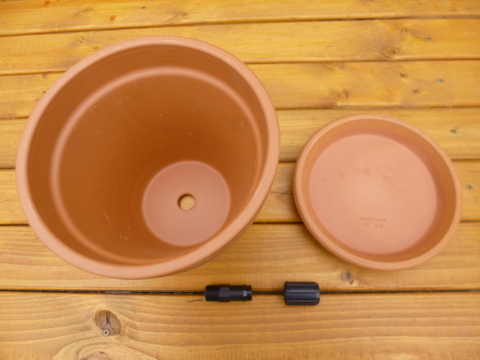
It starts out with an unglazed standard terracotta plant pot and I use a standard 23cm (9.06”) pot which is 20cm deep and has a drain hole 22mm across (this is an important measurement). Also required is a pot saucer of similar diameter to the top of the terracotta pot. Sometimes it can be difficult to find the exact size, in my case there were no 23cm pot saucers, only 21cm or 25cm. In most cases either will do as any gaps will be taken up with silicone sealant. I chose 21cm terracotta pot saucers, they were labelled as water impervious, but that is OK too because we want the water to be diffusing through the side of the pot rather than sinking into the soil through the bottom.
The pot and pot saucer together are used to construct the capsule.
Fittings
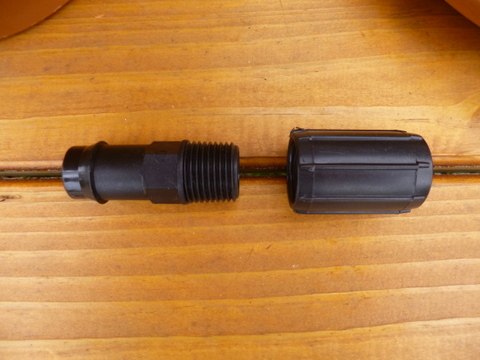
We now have the basis for the buried capsule itself, but now we need a way of connecting it to the above ground reservoir so I used some irrigation fittings. I got hold of fitting that had a 19mm thread on one end and a 15mm bsp barb fitting on the other, you need two per capsule. To help secure the fitting into the capsule I butchered a Garden Rain 15mm Female to Female Rural Poly Irrigation Coupling and to join the reservoir to the capsule a length of 19mm clear vinyl tubing (in this case 1 metre).
The reservoir
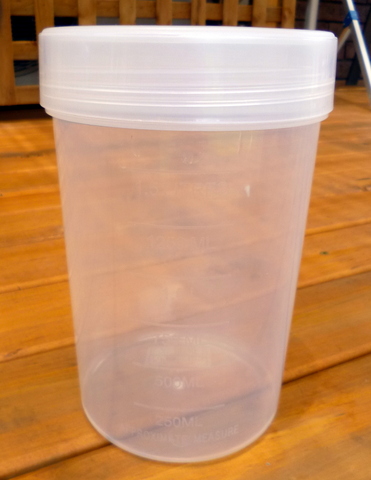
Just about any thin walled container that you can drill through will do, but if it is clear it will make it much easier to assess the water level at a glance and know when it needs to be topped up. I use a series of nominal 1.5 litre cylindrical plastic containers with a screw on plastic see through lid (although they hold about 1.8 litres when absolutely full) which are 19cm high by 11cm across the base, and easily available and cheap.
Putting Things Together – The capsule
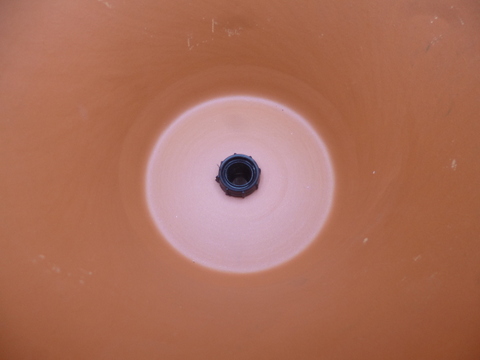
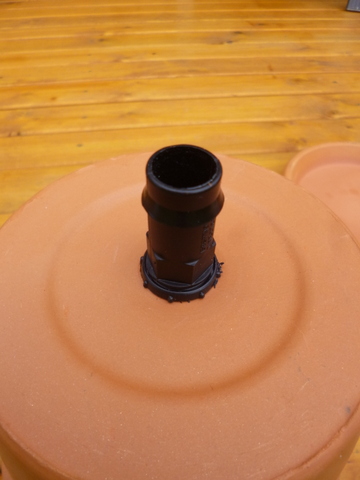
To start, turn the pot you are going to turn into a buried capsule upside down so that the drain hole is uppermost. Cut some 3mm – 5mm thick rings from your 15mm Female to Female Rural Poly Irrigation Coupling, 4 will be enough for each buried capsule. I use a small electric band saw although you could achieve the same thing with a hacksaw (but with somewhat more effort!). Two of the rings will be used to secure the 19mm threaded fitting into the drain hole of the pot. First, screw one ring onto the 19mm fitting down as tight as you can, holding some cloth in your hand helps to grip the thin ring I find. Then place the fitting into the drain hole of the pot with the barbed end facing out, and on the inside screw the other ring down tight, to secure the fitting into the drain hole. A bead of silicon sealant (yet again, silicone is my friend!) will ensure a watertight seal.
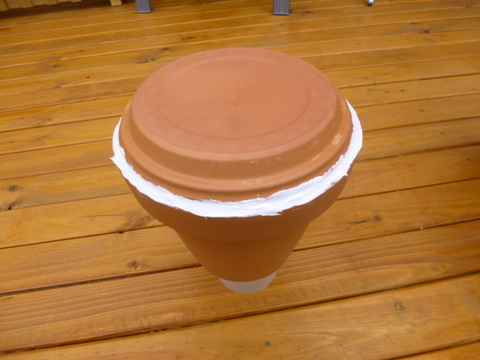
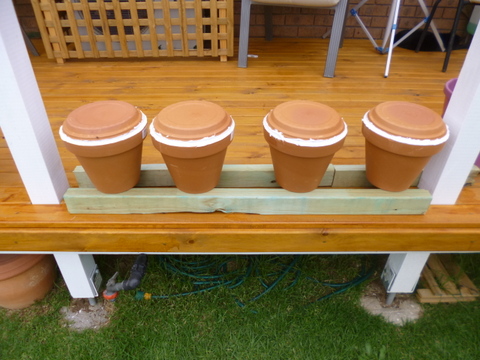
With the fitting in place the pot saucer can be attached to the pot to form the capsule. If the saucer is the same size as the pot or smaller it will need to be put together right side up, if the saucer is larger it will need to be done upside down. All that needs to be done is to fit the saucer on the open end of the pot and apply a bead of silicon sealant between the two surfaces, while applying a bit of pressure to the nozzle to ensure that the bead is squeezed into the gap. If the bead is being applied right side up it will need to be set up so that the fitting sticking out of the drain hole is put into a slot between two lumps of timber to ensure that the pot has a firm base. It is easier if the saucer is larger, it can be done upside down and by putting the pot on a lazy Susan it makes it easier to rotate it as the silicone is applied.
When the silicone has been applied, use a finger to wipe over it and make sure that it has gotten into all crevices of the join. Leave the whole assembly for a day or two so the silicon sealant can set. Once the silicone is set, fill the capsule with water just to make sure there are no leaks, before moving onto the next phase of construction.
The Reservoir
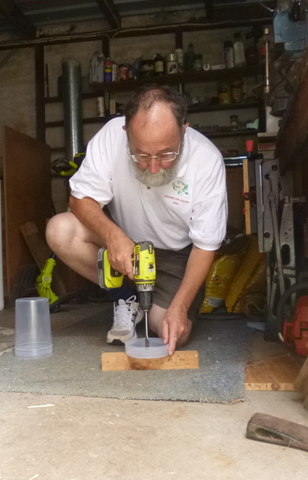
As mentioned above, the reservoir I use is a plastic container often used to put dry foods in, which is 1.8 litres in capacity and has a screw on lid. A 19mm threaded fitting needs to be inserted into the bottom of the plastic container so that water run into it can be directed down into the capsule. The easiest way to use a 19mm spade bit to drill a hole in the bottom of the reservoir then use the same technique as fitting the 19mm threaded fitting into the capsule, and then seal with silicone sealant.
Unfortunately this won’t work for me, because I need to lift the chook tractor over the veggie patch and the chooks are gonna dig the living daylights out of it so I needed to be able to remove the reservoir while leaving the capsule in place. I also needed to block the hole leading to the capsule so the chooks didn’t fill it with dirt. so rather than use silicone sealant I used a soft washer between the bottom of the reservoir and the 19mm threaded fitting. I also have a cap for the fitting so that I can remove the reservoir then screw on the cap to seal the open end of the capsule.
So, we now have the reservoir and the buried capsule and all we need to do is join them together. I use some 19mm PVC tube, but how much you need will depend on how deep you want your capsule to be buried, ideally around the root zone of whatever it is you will be growing. By cutting the tube so that it just joins the two barbed ends, no tube showing in the middle and with the reservoir sitting on the ground the capsule is about 80mm below the soil surface and this is about the minimum depth. Any deeper and all you need to do is put in a longer piece of tube between the two ends.
To make sure there was no vacuum, I also drilled a 19mm hole in the centre of the top of the reservoir, but it seems that this is also a great way to refill it without removing the top. A long tube fitted to a hose can be used to refill the reservoir by inserting the end of the tube through the breathing hole and then filling it up from there. It also makes refilling easy if you are growing a tall or rampant crop which can make getting to the top of the reservoir difficult.
Installation
To install the buried capsules I first fitted the two barbed fittings and the pipe, so I knew roughly where the soil surface should be and then screwed the end caps over the top fitting to prevent dirt getting in. Using a soil auger which is about the same diameter as the capsule I dug down to the required depth, put the capsule in the hole and the covered it up with the spoil from the hole, to the point where only the cap was exposed. This is so the bottom of the reservoir is sitting on the ground and is firm, that way it can’t move around and break the seal.
Once the first capsule was in place I installed the others, using a long piece of timber and a spirit level to ensure that they were at the same level in the soil. With all of the capsules dug in, I connected the reservoirs and then filled them with water. The bed was now ready to plant out.


