


In the early ‘80s an old friend of mine, Bill Tarplee wrote a series of articles on pushbikes under the title of “The Survival Pusbike” which are reproduced here under the title of “The Sustainable Pushbike”, parts one, two and three. By 1988 he considered that there had been sufficient changes to warrant a revisiting of the subject and he wrote parts one and two of “The Survival Pushbike – Revisited” now reproduced here (of course!) as “The Sustainable Pushbike – Revisited”. Bill is a wizard with all things mechanical and his advice and insights are still relevant today for those of us who wish to live more sustainably by using bikes.
The prices of all equipment mentioned are as at 1988 (sorry).
Back in the early days (of the magazine) we had a series on survival bikes. A few things have changed since then, and the subject is worth looking at again.
The old “treadly” is one of the mechanical marvels of all time. With a minimum of fuss or effort it will take you as far as you want to go………. And back again. It costs little to buy, less to run, and can be repaired very cheaply.
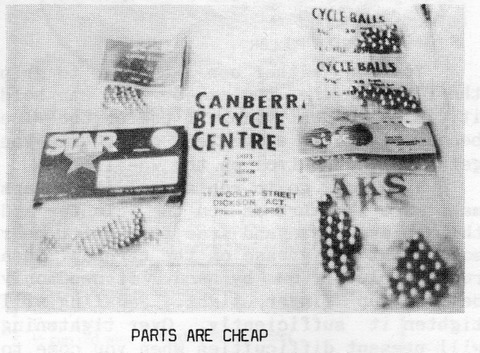
For less than $50 you could buy all the spares you would normally need to last a lifetime. For an additional $50 you could buy all the tools you would need to fix a normal bike.
You don’t need a lot of tools for bikes. There are a number of specialised tools involved, but they don’t cost much. Chain breakers cost about $5. Spoke spanners cost about $3. Hub removers cost about $7.50 each, and you’d need two, maybe three. A few basic spanners, several screw drivers, a hammer, a bronze drift, and you’d be in business.
Learning to use most of the equipment isn’t difficult. It is mostly a matter of reading several books, using common sense and going at it quietly. Most damage done to bikes is by kids lacking proper tools, who don’t know what they are doing.
Fixing bikes under survival conditions need not be difficult. There will be plenty of parts that can be cannibalised for quite a while to come. Much of the parts are interchangeable, so you can swap parts around without too much problem.
The Chain
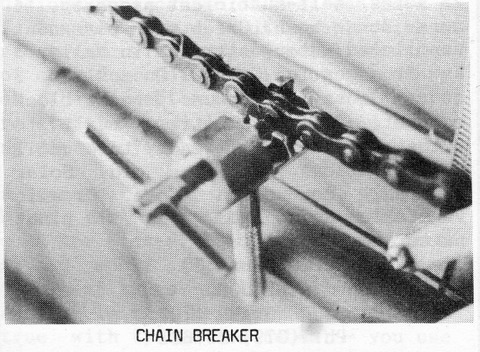
To take a chain off you need a chain breaker. Line up the punch on the connecting pin, turn the tommy bar and out pops the pin. Installation is a reversal of this procedure.
Ideally you should clean a chain every couple of hundred kliks. I do this by breaking the chain, then soaking it in kero for 5 minutes. Swab off the grit with a toothbrush, then hose the chain clean with a strong jet of water. Allow the chain to dry then spray with WD 40, RP7 or similar spray.
Silicone sprays are good in that the silicone dries out and does not attract dust like oil does. The chain stays cleaner for longer. You can buy special chain oils that don’t attract dirt, but they will cost more than the bike.
Bearings
You will need a few bags of steel balls. There are only four sizes you would normally need, and they are cheap. Buy more bags than you think you’ll need and put the spares away. Cover them with engine oil and they will last forever.
You may find that you have to remove the rear cluster before you can remove the balls from the rear wheel ballrace. There are two main sorts, the Shimano and the Sun Tour. Both are cheap and you really need both if you are going to handle most bikes.
The Cluster Gear
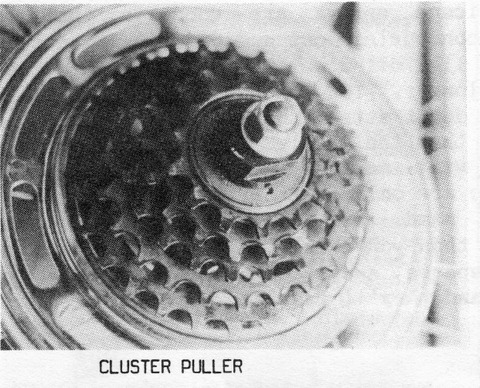
To remove the cluster first place the puller into the cluster splines. Then put the nut onto the axle and run it down until it is just about tight on the puller. You can then use a spanner to turn the puller anticlockwise. The nut stops the puller from coming off the splines. As soon as the puller rotates a bit, slacken off the nut a fraction and repeat again.
You can either use a spanner to grip the flats of the puller, or you can hold it in a bench vice. I prefer the vice because it gives a better grip, and you get a better control on the wheel.
When you go to replace cluster gears make sure the threads on the cluster and hub are clean and free from grit. Smear some light car grease on the threads. Then run the cluster on by hand. It need only be run up finger tight. Pedalling with tighten it sufficiently. Overtightening will present difficulties when you come to remove it next time.
Many bike parts are interchangeable. You may find in necessary to cannibalise and combine parts to make up various assemblies.
Hub Bearings
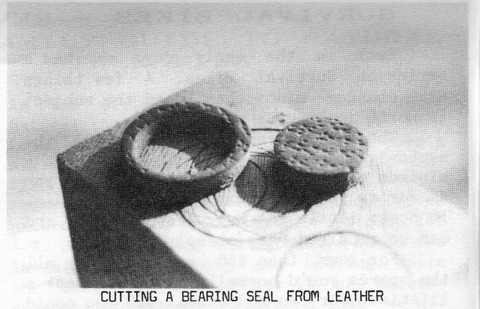
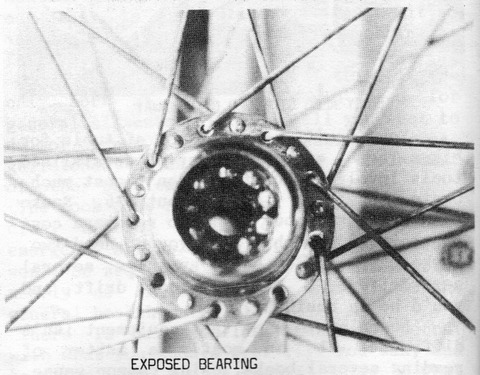
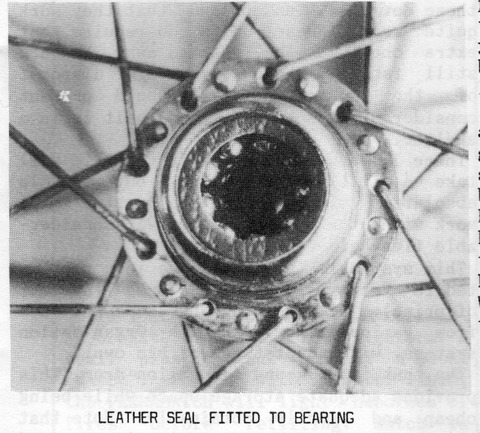
For example, there are several variations in cone sizes for front and rear hubs. One wheel I was assembling had small cones in a large cone hub. Once the cones were fitted much of the bearing would still have been exposed to dust. Several minutes work with several wad punches and a piece of leather and I had a dust proof bearing protector. Simple, easy and very effective.
Bearing should be thoroughly cleaned before assembly. I usually pick the balls out with a magnet, then drop them in a tin of kero. Wipe out the grease with a paper towel or piece of rag, then wash thoroughly with kero. Spray off with a fine jet of high pressure water, then allow to dry for several minutes.
When replacing the balls, put a goodly dollop of light car grease in each race, and spread it evenly around the race. The grease will then hold each steel ball in place and prevent them falling out. For this type of work you want a light grease. If you only have heavy or old grease (new, of course, not second hand) then mix in some engine oil. This will thin the grease. (grease is only engine oil, soap and sometimes additives).
Adjusting ball races is easier done than described. The cones or cups should be tightened to a point where there is no sideways movement in the bearing. Then you stop! It possible to go quite a way past this point. You can do a bearing up until you can’t turn it. This only ruins the bearing. Never tighten a bearing more than required to remove sideways movement.
Hold the cone or cup with a spanner while tightening the lock nut. Keep testing while you tighten the lock nut. Sometimes the bearing turns with the nut, varying the adjustment.
Pins (Including the Cotter Pin)
When drifting out pins such as cotter pins, always support the crank on a block. The blow is then absorbed by the block, not the bearing.
Use a bronze or brass drift on cotter pins. Turn the nut back about half a turn, then use the drift to drive both the nut and pin. Once it shifts slightly release the nut half a turn and drive again. When driving a drift always use the biggest hammer you can comfortably use. Large hammers, when used gently, have a much better shocking power. Small hammers just bounce around and round pins over.
A judicious application of heat can save a lot of trouble. A couple of minutes with a propane torch will expand metal around a pin, or expand a nut. It is not necessary to cook the bejeebies out of the thing. If you are starting to see smoke and smell burning grease you have heated it too long.
As a general rule, whenever you are assembling parts, put a fine smear of grease on the pieces. This holds true for spokes and spike nipples, to nuts and bolts, to seat tubes in the down tube, to handle bars in the head stock. It doesn’t hold true with tyres and tubes – you use talcum powder instead. When sliding on handgrips you rub some soap on the bars. Whatever the application, it will help you take the pieces apart later.
