


When the seedlings have grown enough, this is usually 4 to 6 weeks from sowing, they can be transplanted directly into the bed newspaper pot and all, the pot rots away and allowing the seedling roots to push through into the soil. Generally, seedlings should be transplanted in the late afternoon or early morning to minimise transplanting shock due to drying out of the seedling by the sun, but when using the newspaper pot method this can be less of a problem. More on this later.
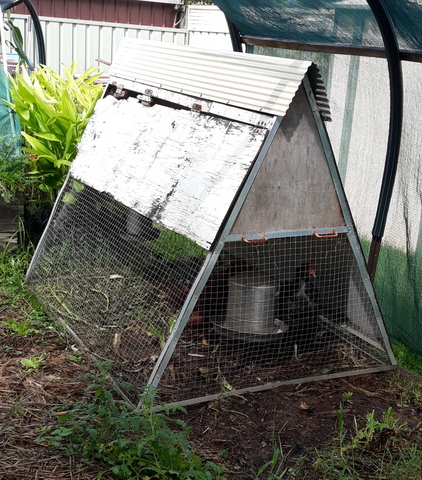
The chook tractor doing its job
The bed that the seedlings in newspaper pots are to be planted out into will have had the chook tractor on it for a period of two weeks, during which time they will have dug it over, removed any weeds or leftover crops and thoroughly manured it. Once the chook tractor moves on, the patch will be mulched with 4cm to 6cm of straw mulch which has been dug over and thoroughly gone through and any remaining wheat seeds eaten by the chooks in the retirement village. During this process they will have broken the straw stalks down and added their quota of high nitrogen manure to the straw.
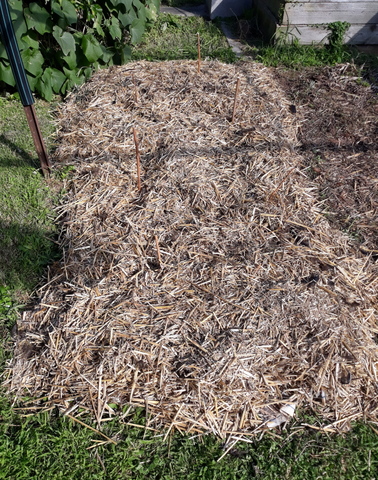
A mulched bed
Only once these processes are completed is the bed ready to receive the veggie seedlings and depending on the time of year, the time between the chook tractor moving on and the seedlings being planted may be a week or two or up to a month.
The usual process of potting on is simple enough, a narrow trowel is used to move the mulch aside and dig down into the soil until a hole in the soil is produced a bit larger than the newspaper pot. The newspaper pot is lowered down into the hole and the surrounding soil scraped in to ensure the seedling is stable and well covered with soil. For plants that send out adventitious roots like tomatoes, the hole will be a bit deeper and the soil heaped up around the seedling to provide extra room for the roots.
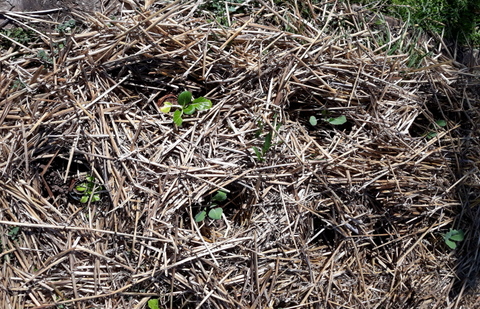
Mulched bed, planted out
Each of the seedlings will be planted into a pattern, starting with four seedlings across the width of the bed, followed by three in the next line, then four, then three and so on until the bed is filled. The resulting pattern allows the veggies to be roughly 30cm away from their nearest neighbour, maximising space while allowing room for the veggies to spread out as they grow. As well as planting out the seedlings using this pattern, the seedlings are interplanted, that is to say (as much as possible) the seedlings of the same vegetable family are not planted next to each other. This can reduce issues due to pests, diseases and can increase yields by allowing closer plantings.
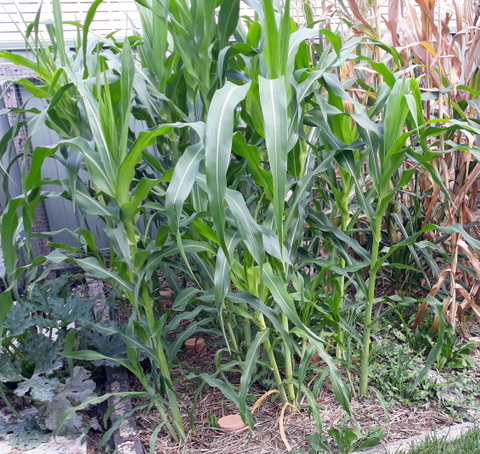
Corn grown in a block
There are some exceptions to these planting rules, such as corn, which needs to be grown in a block to ensure cobs are wind fertilised and onions which we grow, harvest and process as a single crop.
Sun Protection
Originally I found, that while the late afternoon planting works in spring and autumn, planting seedlings in the full heat of a western Sydney summer causes a certain mortality rate anyway, so I developed a movable shade cloth frame. I used it when planting out during the hottest times of the year. Since I operate with standard size beds, I had two half size and two full size covers and they did the trick. By the time the next bed needed it, the original seedlings were strong enough to take the full sun.
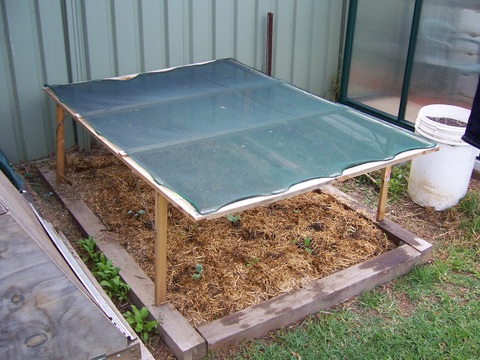
Seedling sun shade
Unfortunately, with the effect of climate change, the western Sydney summers are getting hotter and it seems as if the sun is getting more intense, so about ten years ago I came up with the idea of installing semi-permanent veggie bed covers. The framework stays in position all year, but some time around mid-spring, 50% shade cloth covers get installed and stay in place usually until some time around mid-autumn at which point they are removed and placed in the shed. More details on the veggie patch covers can be found here.
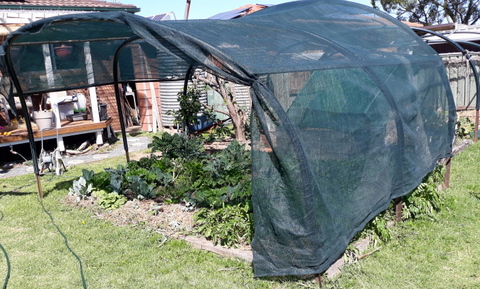
Semi-permanent cover for three veggie beds
