
With the increasing sizes of houses, the reducing sizes of yards and more and more people choosing to live in high rise apartments, we need to be finding more creative techniques if we want to grow our own food. Also, with the cost of living currently escalating, growing our own food is looking even more attractive.
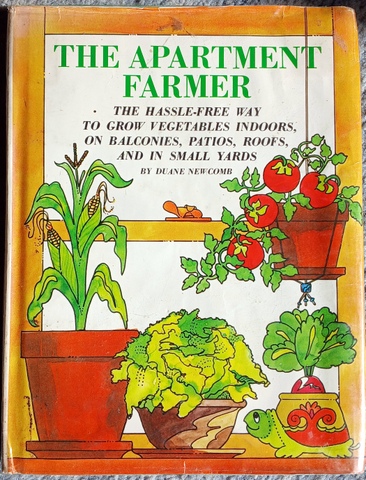
Ironically, the idea for the windowsill farm comes from a book written in the ‘70s called ‘The Apartment Farmer’ by a gentleman called Duane Newcombe. He explains the concept and provides some line drawings of how it may be laid out. Once you have the idea, the rest will need to be tailored to your particular circumstances, and to your windows.
Finding a spot
When I decided that I wanted my own window farm, I needed to work out which window(s) to set them up in. Ideally it would be a north facing window, but the original builders of our house saw fit not to grace us with such a thing (or southerly windows either). Our house faces a little south of east, cutting down on access to the morning sun but the back faces a little north of west, so it seemed to provide some opportunity to grow stuff.
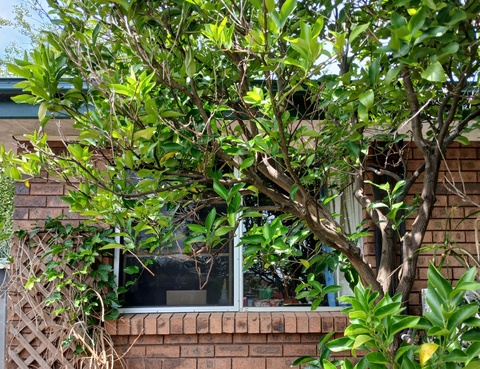
The office wondow from the outside, showing the effect of the mandarine tree
The problem is that I have spent many years trying to insulate the house from the heat, particularly the western summer sun, with structures and foliage. The result of all this work meant that the only two real candidates with any chance of getting enough light were the most northerly (my office) and most southerly (the dining room) western windows.
I chose the window in my office for warm season growing but both would work well for cool season growing. Another advantage of using the office window and its northernmost exposure was that, with a minimum of mucking around, I could still open the window easily to let fresh air in, and providing air movement for the growing plants.
Building the Farm

I had some rectangular plant ‘saucers’, sitting around, bought on the cheap ($2 according to the labels) years ago for a long-forgotten project that were sized 730mm long by 220mm wide. I could put the pots on them to protect the wood of the farm frame so I decided to size the farm around them.
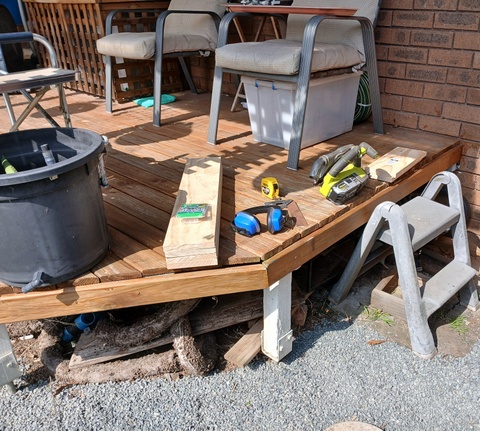
To make the frame of the farm I used DAR pine 240mm wide by 18mm thick, mainly because I had some, but also thought it would do the job. There is 1200mm between the windowsill and the inside top of the window frame so I cut the uprights to 1180mm and the shelves to 750mm to allow 10mm between each end of the ‘saucer’ and the uprights. This gave a total width of the farm to be 790mm, allowing about 60mm on each side once it was fitted into the sill.
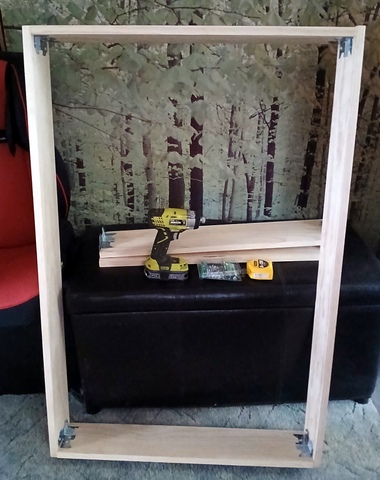
Carcase
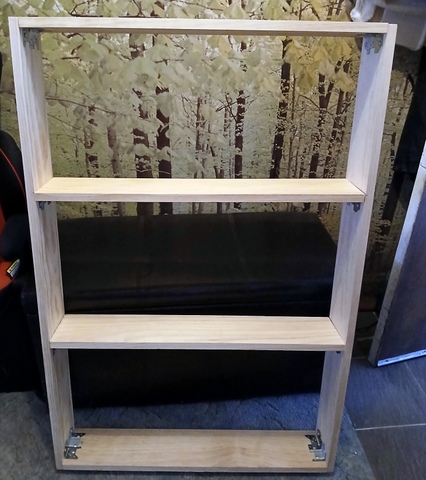
Carcase with shelves in place
To hold everything together I picked up 8 ‘multigrips’ (no, not the pliers, see below) that were 100mm x 35mm x 1mm to act as brackets. They were cheap, effective and didn’t take up much space. To secure the multigrips to the timber frame of the farm I used 8-gauge x 15mm long stitching timber screws with button head and Phillips drive.
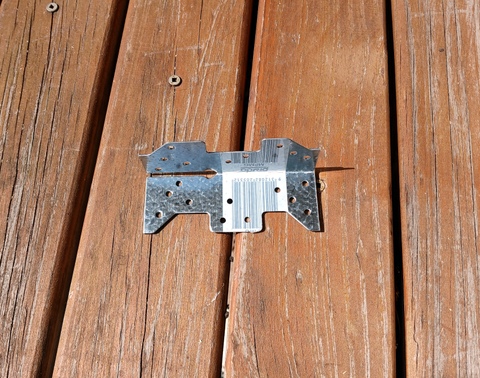
'Multigrip'
The construction process was pretty simple: I just screwed a multigrip to each end of the four shelves using two or three screws, then screwed the ends to the uprights to form a rectangle, then screwed the two remaining shelves at about the 400mm and 800mm mark on each side. I did need Lindas assistance to hold stuff steady when I was screwing the shelves and uprights together but all up, even with cutting the timber to size it only took a couple of hours to make.
Installing the farm
To allow me room to be able to open the aluminium sliding window I needed to install the farm sitting a few millimetres back from the window frame. This was easy to do, but to make sure that it was solid and not likely to move I installed a small wedge between the top of the farm and the top of the window frame. This made sure that the farm was solidly mounted.
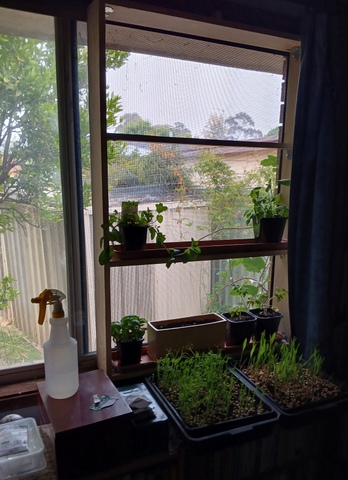
How it is Working
It is still a work in progress and somewhat experimental. The bottom floor of the farm has two tomatoes, some radishes and baby carrots, the second floor has sage, basil, mint and a lettuce and the third floor is, as yet, untenanted. I am still unsure if there will be enough light to grow the plants that I want and I need to rotate the pots through 180° every day due to their tendency to grow towards the light.
Also, there are some benefits that I did not see coming –
- It really looks nice, and it is a pleasure just to look at out food growing on the windowsill,
- With the window open and air coming into the room there is the odd herbal scent coming in with it,
- I have been working for years to build up barriers between the western sun and the house to keep things cooler, and as they grow, the plants will become an integral part of that barrier.

Irrigation equipment
All in all, even though it is still early days, I am very happy with how it has turned out and it was well worth the effort to construct it.
It has now been working for a few weeks and some things have become clearer -
- The area only gets an hour or two of direct sunlight, even on a good day
- It is almost summer and there is just not enough light to grow radishes, or I suspect any veg from seed. The radishes are very leggy and the mandarine tree outside the office window is having more impact than I expected.
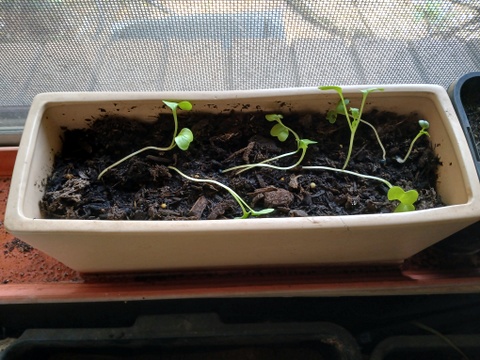
- Having said that, microgreens and similar things like shoots and soil sprouts to seem to germinate and grow well.
- Established plants like the herbs seems to do OK in this environment.
While I don't think these results reflect on the idea of the windowsill farm, they do underline the importance of working out what you want to grow, in combination with how much light is available.


