

Why
I have been fascinated by the idea of a rain garden for many years, and it has certainly been on my ‘To-Do’ list for quite a few years as well, but other things seemed to get in the way. That is until recently, when I read the book “The Last Drop” by Tim Smedley, which pretty effectively documents the water problems that we are having and what needs to be done to fix them.
One of the points he makes is about the condition of and overdrawing from the world’s aquifers (underground water supplies) and the fact that draining them can be a one-way street, because without the water to support the weight of the overburden, aquifers can collapse and not be refillable.
I wondered what groundwater there was in western Sydney, and according to the Australian Government document “Bioregional Assessments” – groundwater: “Alluvial and non-alluvial aquifers are present in the Sydney Basin bioregion and groundwater extraction from these aquifers is used for a range of purposes including domestic, stock, irrigation, town water supply and industrial purposes, with a proportion of water protected for the environment in all water sources.” 1.1.4.4 Groundwater use | Bioregional Assessments.
When we build houses and roads, the rainwater that used to go into the ground now falls on rooves and roads, gets captured and then directed out so sea (along with a whole load of crap and pollution) rather than replenishing the aquifers. One way of working against this is to divert the water from the roof and direct it back into the soil. There are a number of ways to do this such as putting in a permeable path, or a drain chimney or (you guessed it) a rain garden!
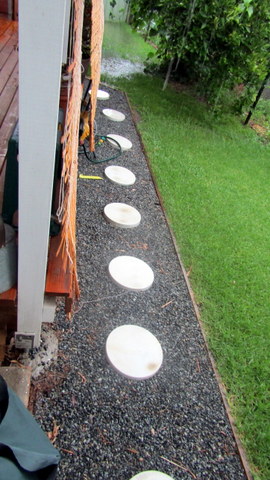
A Permeable Path
Obviously anything I can do will be pretty small scale, but ya gotta start somewhere!
One of the other benefits of a rain garden, depending how it is used, is that it can filter out pollution and rubbish, keeping it out of the groundwater and other waterways as has been done in inner city Sydney Protecting our waterways - City of Sydney.
Most of our downpipes go directly into water tanks, but once the tank is full the water will sometimes be directed into the original stormwater drain, and I had two areas that I wanted to take stormwater and redirect it into a rain garden – this is number one!
Where
This rain garden will be in the front yard, towards the south where the neighbour and I wanted a garden and just in front of the 5000 litre water tank. The water source closest to this area was rainwater runoff from the carport, which feeds into the 5000 litre tank located beside said carport, which then in turn overflows into a 3000 litre tank beside the garage. Once they are both full, I wanted to direct the flow into a front yard rain garden, just east of the inflow into the larger tank.
Digging the hole

Water added
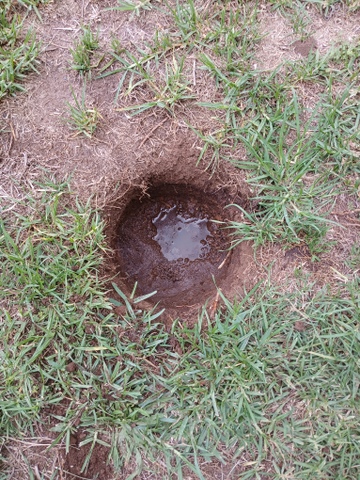
Five minutes later (add in French accent)
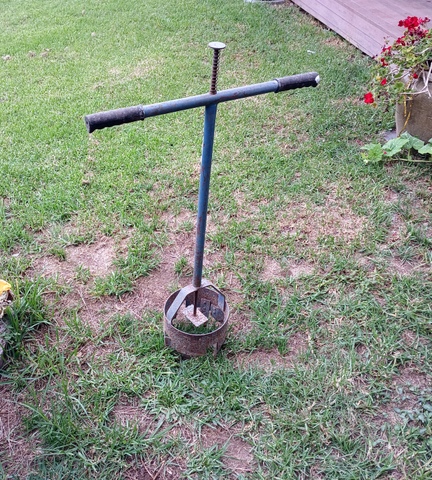
First thing I had to do in my chosen locations was to test the soil to see whether it was free draining enough. To do a percolation test I picked a spot in the middle of where I wanted to put the rain garden in, then using my post hole digger to dig a hole down 150mm to 200mm, which I filled with water. The idea was that a good rain garden site would allow the water to seep away within 24 hours. If not, then you can still have a rain garden, but the soil will need to be amended first. In the event, the water was gone in around five minutes! I concluded that drainage would not be an issue.
How - Water
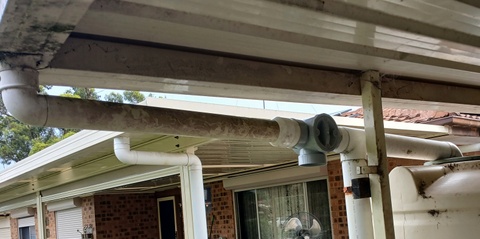
The next trick was to work out how I was going to get the water from the overhead piping that took it from the carport gutter into the tank itself. The pipe that takes water from the gutter, over the first flush diverter and into the tank, is easily accessible.
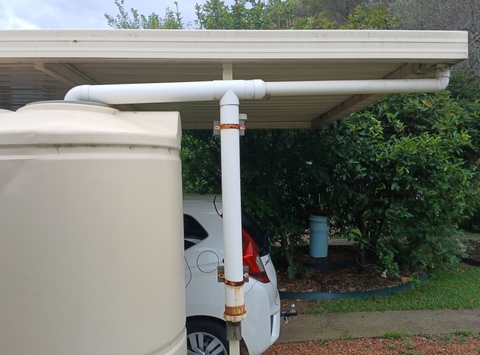
I cut into it where it attached to the first flush diverter on the western side and installed a three way rainwater diverting valve, with the outlet facing down, so that the valve, when turned, would direct the water downward towards the rain garden when the tanks were full. That was the theory, but in practice when the valve was turned to direct water to the tanks, it was not sealed well enough and leaked more water than I wanted straight down.
The original downward orientation of the valve outlet

Leftward facing orientation of the valve outlet
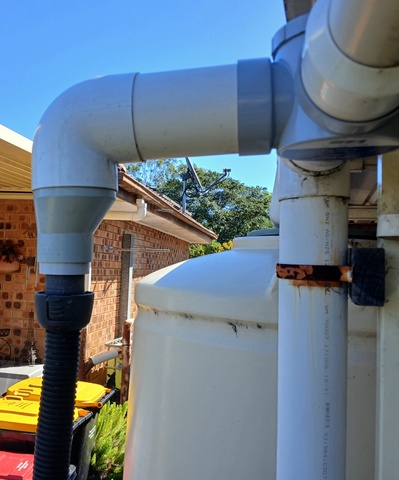
To get around this I turned the valve so that the output was facing to the left rather than straight down, which seemed to reduce leakage considerably. To take the water from the output of the valve down to the rain garden itself, I fitted 200mm of 90mm piping into the valve output, a 90° elbow onto the end of the pipe, then placed a 90mm to 50mm greywater hose adapter into the elbow, which was facing down. Into the 50mm end of the adapter, I placed a 50mm to 40mm adapter which as luck would have it was the right size to take the end piece of a vacuum cleaner hose that I had picked up off a rubbish collection heap some years ago.
Final set up
Rather than running the hose directly to the soil I decided to run it first onto a 30cm pot saucer, the idea being that the water may come out in a bit of a rush, and it will hit the pot saucer first, then gently flow over the side, thus preventing any erosion.
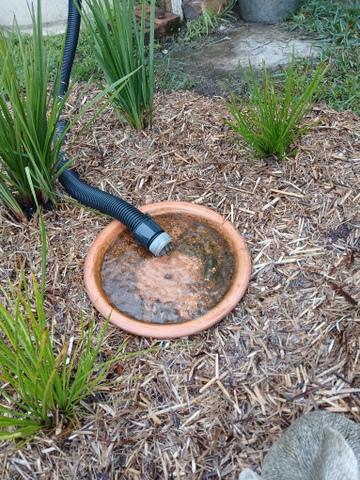
Rain gushing out of the pipe and onto the pot saucer, winner!
How - The garden itself
To work out how big the garden could be and the shape it would have, I dragged a 30mm flexible hose and used that to mark out the circumference of the rain garden. I did this in consultation with my next door neighbour, because she was keen to have a garden in the area. Once we had worked out the size and shape ie roughly oval, 1800mm long by 1000mm wide at the widest point.
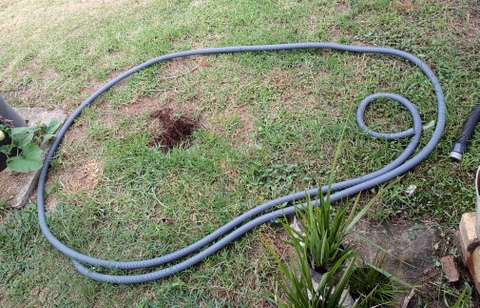
Marking out

Clearing the grass
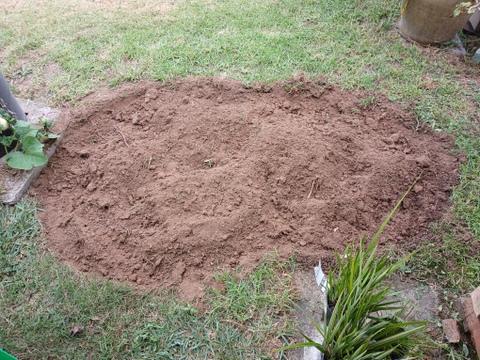
Grass clear
With the circumference marked out I went around it with a small shovel, digging down 70mm to 80mm or so, then removed the hose and used a hoe (I’ve seen them referred to as ‘grubbing’ or ‘peasant’ hoes) to remove the surface grass. With the grass removed I used the hoe to dig up and loosed the soil where I was going to place the garden, then I added a garbage-bin full of cocopeat to prevent the soil compacting and help it retain water. I then mulched the garden with some sugar cane mulch.
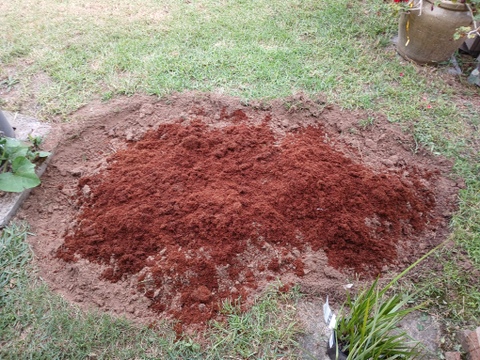
Cocopeat added
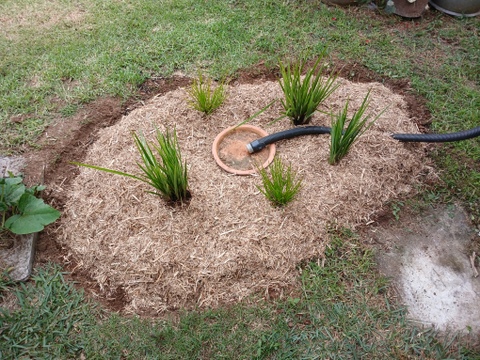
Finished!
The plants for the rain garden I wanted to be natives, and I needed them to be pretty hardy and drought tolerant, because sometimes it can be a long time between drinks around here! I came up with Dianella Caerulia, which produces blue berries and Lomandra Longifolia, also known as ‘basket grass’ which was used by first peoples to make baskets (strangely enough!). I bought three dianella and two lomandra plants and we will see how things go, both are very hardy and if they do well I may get more.
Results
We have had one 24 hr load of rain since the rain garden went in and it handled the downpour easily with no runoff from the garden or evidence of waterlogging. We will see how it goes over time, but so far both the neighbour and I are very pleased with the results.
2026 Update
Well, that was the theory!
Unfortunately, over the last 12 months or so, several things have changed. We got a long dry spell, so there was not much rain for the garden and in the end the Dianella Caerulia plants did not survive, but the Lomandra Longifolia continues to do OK. The formation of the garden was not quite right, it was not basin-like enough to keep the water in where it was supposed to go and when we did get a load of rain, it could overflow the raingarden and run off rather than sinking in as I had designed it to. The mulch broke down quickly as well and the grass in the area started to creep in, making the outline of the garden less obvious.
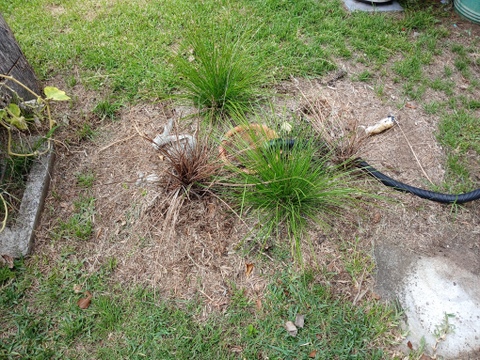
So, what to do about it? Rain garden two seems to be working very well so I decided to remake rain garden one so it would be similar to rain garden two.
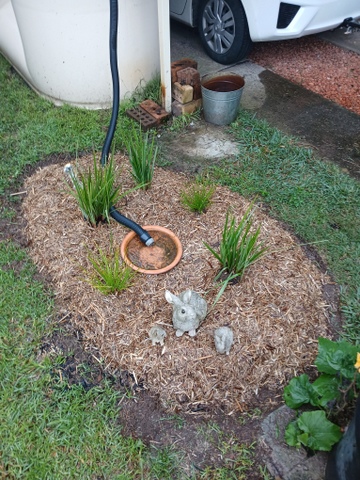
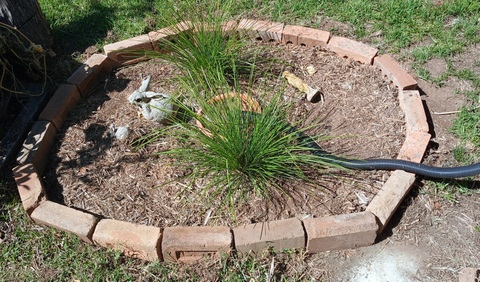
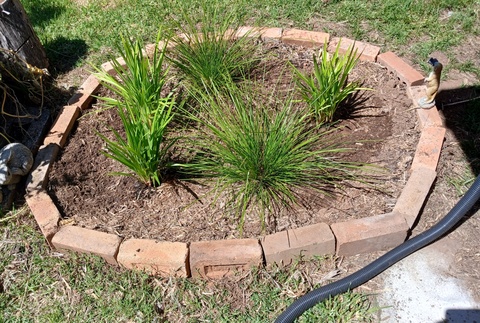
The first thing I did was to get hold of some bricks, donated by our next door neighbour, to surround the rain garden and provide edging and help retain the water and prevent it running off. I removed the dead dianella plants and contoured the inside of the garden into a more bowl-like shape and planted three new dianella plants.
Lastly I put in a white rock mulch similar the one I used on rain garden two, placed the drain pipe and terra cotta pot saucer back in, and put the rabbit and meerkat figurines supplied by the next door neighbour back in place as well.
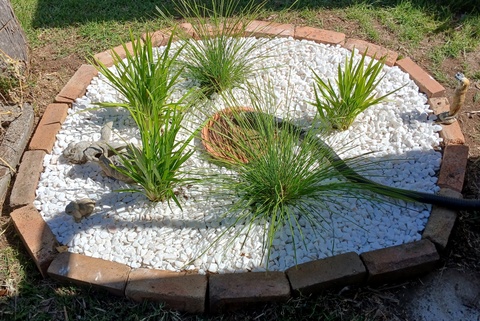
All finished, we’ll see how it goes!
